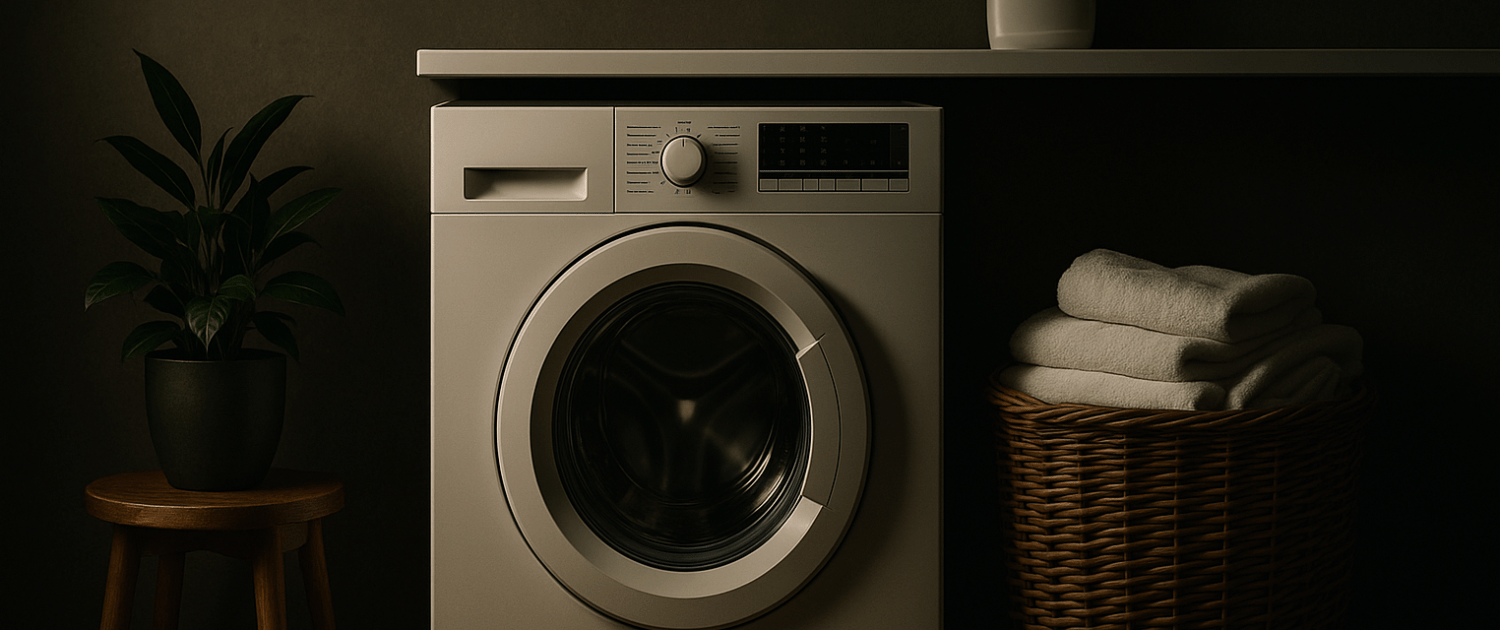
Washing Machine Won’t Start: Top 7 Problems and Fixes for Top-Loading and Side-Loading Washers (With Video!)
APP Expert / Tuesday June 1, 2021
Is your anticipation of laundry day cut short when your washer flat-out refuses to start? You’re not alone! But fear not, our step-by-step guide and handy video tutorial below will walk you through diagnosing the common culprits and getting your washer back in action, saving you time and a costly service call.
There are few things worse than preparing all the clothes, getting ready for laundry day, and realizing that your clothes washer won’t start. The good news is that there are seven common appliance parts failures frequently attribute to a washer that won’t turn on. Here at AppliancePartsPros.com, we carry the exact parts to fix specific appliance models and have thousands of videos to help make fixing your clothes washer a breeze. Follow this easy guide to determine which part of your washer might be causing the problem, search for the correct part for YOUR washer, and save money by performing the replacement yourself.
Once you have identified the part needed for your clothes washer, search below using your specific washer model number to identify the exact part needed:
Power Supply
There are several reasons that a washing machine may not start and these reasons are tied to various components inside the washer. In most cases, troubleshooting the problem and making a repair or a replacement can take care of the issue. Before beginning any troubleshooting, it’s essential to ensure the washing machine is unplugged or the circuit breaker is off to avoid potential electrocution. The cold and hot water supply should also be turned off during the process.

The first thing to check if a washing machine won’t start is the power supply. The washer needs 120 volts to work correctly, and if the washer isn’t starting, it may not be getting power. Visit the breaker box and reset it before testing the wall socket using a multimeter set to volts AC. Place one probe into each side of the socket and check the meter for the reading. It should read close to 120 volts but the number can fluctuate to some degree. If the voltage isn’t correct, either the socket or the circuit breaker may need to be replaced. The power cord that runs from the wall socket to the washing machine should also be checked. Look for kinks, cuts, and bulges that might indicate it is no longer working. If it looks okay but you believe it may not be working, testing will be needed.
Testing the power cord requires disconnecting it from the washing machine’s wiring harness. After it’s disconnected, each side of the cord should be tested. To see whether the part carries an electric current, use a multimeter set to continuity. After it’s set, place the probes together to be sure they are working. To ensure you are testing it correctly, the cord shouldn’t be twisted and you should look for marking areas on the neutral side of the cord to indicate which wire is which. Place a probe to the wall socket terminal and the other to the washer end and then test the other end in the same manner. If the cord has a ground wire, that can also be tested. All of them should have continuity, and if they do not, the power supply cord will need to be replaced.
User Interface Control Board
If your washing machine has a user interface control, that’s the next component to check. This component allows a user to choose options and cycles for a load of laundry. The board takes your selections for the cycles and sends the information to the main control board. If the board isn’t working, it can cause the washer to stop running. In most cases, the user interface control board is found behind the control panel where you input information about laundry. If hitting the start button does nothing, the button could be broken. Depending on the manufacturer, parts may be available separately, but, in most cases, it’s sold as a full assembly. That means you will need to replace the entire control board.
If you aren’t sure the button is broken, check to be sure that all of the wiring harnesses are securely plugged in and have a good connection. Use the washing machine’s manual to put the machine into service diagnostic mode. This might result in error codes. If there’s an issue with the board, there will likely be one. Use the manual to continue troubleshooting the error. If the board itself is bad, it will need to be replaced.
Main Control Board
The third component that can cause your washer not to start is the main control board. If your washing machine has one, it controls the functions of the washer once you’ve made selections for the cycle. The main control board takes the information from the interface control board as well as sensors, switches, and other controls. It can also initiate cycles and monitor the washing machine functions.
If the washer isn’t starting, the main control board may no longer be working. Different washer models house the main control board in various locations. It might be on the control panel or it might be under the top of the washer. If the interface responds to your inputs and lights up but doesn’t start, this can be a sign that the main control board has failed. As with the user interface board, make sure all of the wiring harnesses are connected. If there is no error code on the washer display, the user manual will walk you through placing the washer into diagnostic mode. The troubleshooting steps included there should be followed. If it turns out that the main control board has failed, it needs to be replaced.
Timer
The timer is responsible for controlling the functions of the washer and is another component that can cause a washer not to start. The timer will have a set of contacts that are operated using at least one cam. The timer motor drives it. If the washing machine isn’t starting, the contacts inside may no longer be working. This will cause power not to be sent to the washer so it can’t start. This part is typically found inside of the control panel, but keep in mind that many types of timers exist. Taking a look at the wiring diagram for your washer will let you know which terminals need to be tested. Before testing, turn the timer so it’s at the start of the cycle and then pull the knob out. Next, look at the timer wiring harness to see which terminal is on the timer that the wires plug into. Check the terminals using a multimeter set for continuity. If there is no reading, this indicates that the timer is bad. If this is the case, the timer will need to be replaced so the washing machine can start again.
Door Latch Assembly
The door latch assembly is the next part to consider if your washer won’t start. This device is included for safety and tells the washing machine whether the door is closed and locks it while a cycle is being carried out. Several styles of door lock assemblies exist, but if any of them fail, the control board will no longer get a signal from the latch that the door is closed. Since the board will think the door is open, the washer will not start.
If your washing machine has a diagnostic mode, after trying the washer a few times, it should show an error code. With a front-loading washer, the assembly is found behind the front panel, while for top-loading washers, it will be located on the top. Before delving into the inner workings of the machine, look at the door strike first. Make sure it has not been damaged or it may need to be replaced. For a washer that isn’t starting that gives an error code, the user manual or this easy guide on appliance error codes by brand can help shed light on the problem. If there isn’t a code but you believe the door latch assembly isn’t working, a wiring diagram or user manual will be needed to determine how to check it on your washer model.
Start Capacitor
The start capacitor is the next component to look at when your washer does not start. It provides an extra bit of electricity to the motor so it can start. Start capacitors store electricity that is released when the washer motor is starting. This provides extra torque and power so the machine can start without any issues. If this part isn’t working, the motor might hum when it tries to start but it won’t begin the cycle.
In some washing machines, the start capacitor is located on the back wall while, in others, it’s located near the motor. If the part is bulging or damaged, it will need to be replaced. If a visual inspection shows no issues, a multimeter can be used to test the component. This can be done by taking the capacitor out of the washer or by testing it while it’s still in the washer. The multimeter should be set to ohms and may need to be set up to read at least a thousand ohms of resistance. Before testing, the capacitor needs to be discharged. This is done by removing the wires and laying an insulated screwdriver over the terminals. Be cautious and do not touch the metal on the screwdriver while doing this step.
At this point, a probe can be touched to each terminal and it should cause the ohms reading to rise before dropping back down. Next, reverse the probes and do a second test, which should result in the same readings. If neither reading changes, the capacitor is no longer working and will need to be replaced. If the capacitor in the washing machine is metal, it’s also essential to check whether it has shorted to the casing. Touch a probe to a single terminal and place the other probe against the casing. Next, move the first probe to the second terminal. If a reading is displayed for either, the capacitor has shorted to the casing and will need replacement.
Drive Motor
The final component to check is the drive motor, which is responsible for taking electrical energy and turning it into mechanical energy to drive the motor. There are various styles of drive motors, including those that use a pulley system and others that use a direct drive motor. If the drive motor isn’t working, this can lead to the washing machine refusing to start. With a top-loading washer, the motor is typically located near the bottom of the machine. On front-loading washing machines that have a direct drive motor, it will usually be found on the back of the tub. If the front-loading washer has a belt, it is going to be mounted on the bottom of the tub.
If the capacitor has been tested and is known to be working, but a humming noise occurs when the motor tries to start up, the drive motor may no longer be working. The first step is to be sure a blockage in the drain pump or a locked up transmission isn’t jamming up the motor. With a top-loading washer, the belt or motor may need to be removed to turn the transmission and see whether it’s locked up.
While the motor is free of the washer, make sure it’s not jammed. It’s also a good idea to make sure that nothing is blocking the pump. For front-loaders with belts, the belt can be removed to determine whether the motor and tub spin. For direct drive front-loading washers, turn the rotor and see whether it spins freely. If the pump, motor, or tub aren’t jammed up, the motor should be tested for electrical issues. A user manual or wiring diagram will be needed since there are so many drive motors on washers. Follow the troubleshooting steps to determine whether the drive motor needs to be replaced. AppliancePartsPros.com also lists specific videos within the drive motor parts, there may be a video for replacing your specific drive motor within the corresponding part page when you search for the correct part.
Where To Find Us
If you need any replacement parts for your appliances, you can enter your model number at AppliancePartsPros.com to locate and order them quickly. Most orders arrive in just two business days, and we have tons of great information in our repair help section and YouTube videos to help you troubleshoot.
Stay connected with the latest DIY tips, tutorial videos, and repair guides by following us on Facebook, Instagram, and Twitter. We love hearing about your repair stories and successes. If you need more help or want personalized guidance, feel free to reach out. We’re ready to help you take on your next project with confidence!
 https://www.appliancepartspros.com/b/wp-content/uploads/2021/10/61_washing-machine-making-burning-smell-top-5_middle.png
640
1536
APP Expert
https://www.appliancepartspros.com/b/wp-content/uploads/2020/11/app-logo-std.png
APP Expert2021-10-11 13:38:382026-01-21 08:35:58Washing Machine Making Burning Smell: Top 5 Problems and Fixes for Top-Loading and Side-Loading Washers (With Video!)
https://www.appliancepartspros.com/b/wp-content/uploads/2021/10/61_washing-machine-making-burning-smell-top-5_middle.png
640
1536
APP Expert
https://www.appliancepartspros.com/b/wp-content/uploads/2020/11/app-logo-std.png
APP Expert2021-10-11 13:38:382026-01-21 08:35:58Washing Machine Making Burning Smell: Top 5 Problems and Fixes for Top-Loading and Side-Loading Washers (With Video!) https://www.appliancepartspros.com/b/wp-content/uploads/2021/10/20250617_1057_Colonial-Laundry-Room_simple_compose_01jxz66qetefvvca9dxxpw5cqp.png
1024
1536
APP Expert
https://www.appliancepartspros.com/b/wp-content/uploads/2020/11/app-logo-std.png
APP Expert2021-10-08 12:46:002026-01-21 08:14:33Washing Machine Making Loud Noise: Top 10 Reasons and Fixes for Top-Loading and Side-Loading Washers (With Video!)
https://www.appliancepartspros.com/b/wp-content/uploads/2021/10/20250617_1057_Colonial-Laundry-Room_simple_compose_01jxz66qetefvvca9dxxpw5cqp.png
1024
1536
APP Expert
https://www.appliancepartspros.com/b/wp-content/uploads/2020/11/app-logo-std.png
APP Expert2021-10-08 12:46:002026-01-21 08:14:33Washing Machine Making Loud Noise: Top 10 Reasons and Fixes for Top-Loading and Side-Loading Washers (With Video!) https://www.appliancepartspros.com/b/wp-content/uploads/2021/09/20250617_1101_Compact-Laundry-Setup_simple_compose_01jxz6de07fswbxhzy60pnsfv8.png
1024
1536
APP Expert
https://www.appliancepartspros.com/b/wp-content/uploads/2020/11/app-logo-std.png
APP Expert2021-09-16 15:31:002026-01-21 06:45:30Washing Machine Shaking: Top 8 Problems and Fixes for Top-Loading and Side-Loading Washers (With Video!)
https://www.appliancepartspros.com/b/wp-content/uploads/2021/09/20250617_1101_Compact-Laundry-Setup_simple_compose_01jxz6de07fswbxhzy60pnsfv8.png
1024
1536
APP Expert
https://www.appliancepartspros.com/b/wp-content/uploads/2020/11/app-logo-std.png
APP Expert2021-09-16 15:31:002026-01-21 06:45:30Washing Machine Shaking: Top 8 Problems and Fixes for Top-Loading and Side-Loading Washers (With Video!)Hi! I’m Matt H., and I’m thrilled to be your guide through the world of appliance repair with over 25 years of invaluable experience in the industry.
From the early days of my career, I have been deeply passionate about appliances and their inner workings. Over the years, I’ve seen it all – from vintage models to the latest cutting-edge technology – and I’ve dedicated myself to mastering the art of repair. With a toolbox in one hand and a wealth of knowledge in the other, I’ve tackled every challenge that has come my way, learning and growing with each repair.
Join me as we dive into the intricacies of appliance repair. From step-by-step repair guides to explanations of common problems and their solutions, I’ll be here to simplify the repair process and empower you with the knowledge you need to keep your appliances running smoothly.
Feel free to explore our blog, ask questions, and leave comments – this platform is a space for learning, sharing, and growing together. Let’s work together to ensure that your appliances continue to serve you for years to come.
Thank you for joining me on this journey, and I look forward to being your go-to resource for all things related to appliance repair!