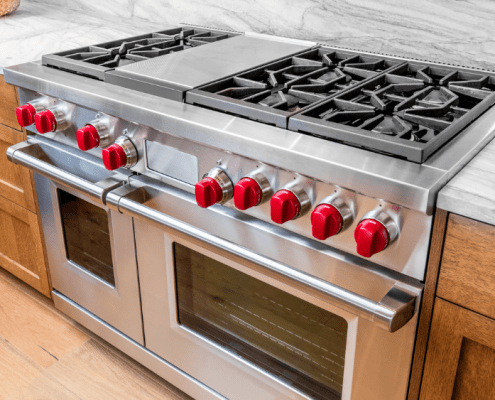
What the F4 Error Code Means on a GE Gas Range
Steven E / Monday May 5, 2025
Is your GE gas range displaying the error code F4? Don’t worry, we’ve got you covered. This is a troubleshooting problem that you can fix yourself without the need for a costly service call, and we’re here to help!
If you find out that you need any replacement parts for your appliance while you’re troubleshooting, you can enter your model number at AppliancePartsPros.com to order them. Most orders arrive in just two business days, and we have thousands of free guides to show you how to install your new parts.
The information in this article may not apply to your specific appliance model. We recommend consulting your manufacturer’s documentation or contact us with any questions.
What does the error code mean?
Pro tip- Stored error codes can be recalled by pressing “KITCHEN TIMER ON/OFF”, “CLOCK”, and “9” simultaneously. While the error code is displayed, pressing 8 and 6 together will clear it.
F4 shorted sensor code
- Indicates the electrical resistance through the oven sensor circuit is too low.
- Occurs when the sensor wiring shorts to appliance ground or the sensor internally shorts.
- This causes the ERC to receive false exaggerated temperature data from the sensor.
Essentially, the control board (ERC) is not getting accurate temperature readings from the sensor and displays an error code to alert you to the problem.
Safety precautions
When working on any appliance, remember to keep safety first. Here are some tips to keep in mind:
- Always power off and unplug your appliance or switch off the circuit breaker before attempting any maintenance or replacement work. This keeps you safe by preventing any risk of injury from electric shock.
- Wear insulated work gloves to protect your hands from sharp metal parts, pinching hazards and debris.
- Take your time and don’t rush while working to prevent accidents and personal injuries.
- Work in a well-lit area so you can clearly see and access the interior parts.
- Clear your workspace of clutter and other obstacles. Keep children and pets away from the work area.
- Never work on internal parts with bare wet hands. Make sure the work area is completely dry.
- Check your user manual to see if there are specific installation or safety instructions for your part or appliance.
- Be gentle when handling or removing parts. Excessive force might damage the appliance or cause injury.
- Wear safety glasses when working with chemicals, dust or cleaning large debris to prevent injury.
- If the appliance has recently been used, give it plenty of time for any heating parts to cool down before working on it.
- Take pictures or make a note of wiring terminals or other connections before disconnecting to prevent any problems with reassembly.
- When working with wires, avoid touching any exposed wires or terminals. If you need to touch a wire, use a non-conductive tool or wear insulating gloves to prevent electrical shock.
Troubleshooting steps for F4
To tackle an F4 shorted sensor error, work through these similar steps:
Step 1: Diagnose sensor wiring
First, you’ll want to check whether the sensor wiring is contacting oven metal, shorting to ground:
- Remove the wiring harness from any connectors to fully isolate it.
- Visually inspect the insulation on the harness for damage, melting, bare spots, or fraying that could cause a sustained short circuit.
- Use a multimeter to check the continuity between sensor wires and oven chassis ground. If continuity exists, the current is bypassing the sensor.
- Any wiring contacting metal and shorting will need replacement or rerouting away from the oven cavity walls.
Step 2: Test the oven sensor
After confirming no shorts in the wiring, move on to verifying the sensor:
- With the sensor disconnected, check the resistance between the pins using your multimeter on the Ohms setting.
- The resistance should be measured:
- 1100 ohms at room temperature
- 1650 ohms at 350°F (177°C)
- 2650 ohms at the clean temperature
- If the measured resistance is very low, near zero ohms, the internal circuitry of the sensor has likely shorted and the entire sensor requires replacement.
Step 3: Replace defective parts
Once the short circuit cause is found:
- Replace any oven sensor wiring that is compromised, burnt, or contacting metal.
- If the sensor unit itself shows a faulty resistance reading, replace it as well.
- After any component swap, clear lingering F4 codes from the ERC and thoroughly test oven functionality before closing the repair call.
When to replace the electronic range control
If you’ve verified the oven sensor wiring has good continuity, the connections are sound, and the sensor resistance checks out accurately to spec, the electronic range control (ERC) likely needs replacement due to internal faults:
- The circuitry processing temperature sensor input within the ERC may be deteriorating and corrupting the signal.
- In rare cases, replacing the ERC is necessary if you’ve ruled out all other possible causes for the sensor failure code.
- Take extreme precautions when removing and installing a new ERC to avoid damaging any other oven components.
More information
Thank you for reading! We hope this guide helped you get your range working again.
If you have any other appliance repair needs or projects, don’t hesitate to explore our other troubleshooting guides and videos.
If you need replacement parts or some extra help with ordering them, grab your model number and head over to AppliancePartsPros.com, where you can chat with a pro, read our DIY blog and more.
Don’t forget to subscribe to us on YouTube and follow us on Facebook, Twitter and Instagram!
With nearly a decade of experience in providing top-notch customer service regarding appliance parts and repair, Steven enjoys sharing practical advice, troubleshooting tips, and interesting information to help readers stay informed.


