What to Do if Your KitchenAid Stand Mixer Overheats and Stops
Steven E / Thursday July 10, 2025
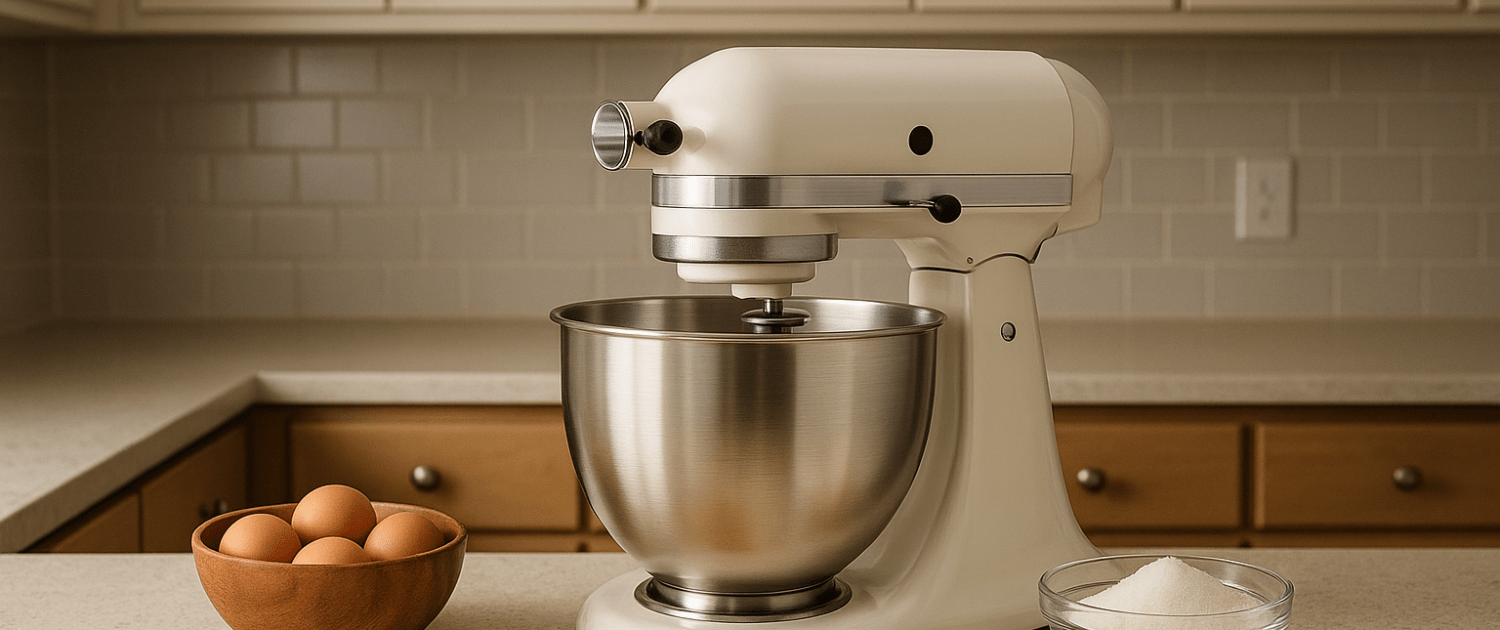
Nothing ruins your baking vibe faster than your KitchenAid mixer grinding to a halt in the middle of a batch. If your mixer overheats or shuts off mid-use, don’t worry, it’s easy to fix. Here’s what to do to get your mixer back up and running (and how to keep it from happening again).
The information in this article may not apply to your specific appliance model. We recommend consulting your manufacturer’s documentation or contact us with any questions.
Why Does Your Mixer Overheat or Shut Off?
Before diving into repairs, it helps to understand what’s happening.
When your mixer overheats or stops working in the middle of a batch, it’s usually due to:

- Overloading the mixer: Pushing the motor beyond its rated capacity.
- Running at the wrong speed: Using high speeds for dense doughs creates unnecessary strain.
- Poor airflow: Dust or grease buildup inside the motor housing can trap heat.
- Worn motor brushes: As the brushes wear down, the motor works harder and generates more heat.
- Dirty or dried grease: Friction between gears increases heat and load.
- Thermal overload switch activation: A built-in safety feature shuts down the mixer to prevent permanent motor damage.
Most of the time, these problems are fixable with some cleaning, adjustment, and part replacement if needed.
Tools and Supplies You’ll Need
Before you begin, gather these items:
- Phillips and flathead screwdrivers
- Clean, lint-free rags
- Compressed air or a soft brush
- Needle-nose pliers
- Multimeter (optional, for testing electrical parts)
- Replacement carbon brushes (if necessary)
- Food-safe grease
Always unplug your mixer before working on it.
Step 1: Let It Cool Down
If your mixer suddenly shuts off, the very first thing you should do is stop and give it a rest. Unplug the mixer. Leave it off for at least 20–30 minutes to cool completely.
KitchenAid mixers have a thermal overload switch that cuts power when the motor gets too hot. This is normal and protects your mixer. After it cools down, plug it back in and test it. If it starts running again, great, but you should still figure out what caused the overheating in the first place.
Step 2: Check How You’re Using It
Sometimes the “repair” is as simple as changing your habits.
Don’t overload the mixer:
- 4.5–5 quart mixers can handle about 8 cups of flour at most.
- 6-quart mixers can handle up to 14 cups.
- Dense doughs like whole wheat or rye are especially taxing; knead in smaller batches.
Use the correct speed:
- Speed 2 is recommended for kneading bread dough.
- High speeds are meant for whipping cream or beating batter, not for heavy doughs.
If you’re overloading or running it too fast, you’re asking the motor to work harder than it was designed for, and it will overheat.
Step 3: Inspect the Motor Brushes
The carbon brushes in your mixer carry electricity to the motor. Over time, they wear down or stick in their holders, which can make the motor draw more current, generate more heat, and eventually shut down.
- Locate the black brush caps on each side of the motor housing.
- Unscrew the caps and remove the brushes.
- Inspect for cracks, chips, or excessive wear (less than 1/2 inch length).
- Make sure they spring back when pressed; if not, they may be stuck.
- To replace, insert new brushes, aligning the curve to match the motor’s commutator.
- Reinstall the caps securely.
Step 4: Clean the Motor Housing
Dust, flour, and grease can accumulate inside your mixer over time, blocking airflow and trapping heat.
- Remove the rear cover and top motor housing.
- Use compressed air or a soft brush to clean dust and debris from the motor, speed control plate, and vents.
- Wipe down surfaces with a clean, dry rag.
Step 5: Inspect and Regrease the Gearbox
Old or degraded grease can increase friction between gears, causing excess heat.
- Remove the motor housing cover and locate the gearbox.
- Scrape out a small amount of grease and inspect; if it’s dark, gritty, or hardened, it needs to be replaced.
- Clean out the old grease completely.
- Pack fresh, food-safe grease into the gears and reassemble.
Step 6: Check Electrical Parts
If your mixer still overheats or shuts down after all the above, inspect the electrical parts for wear or damage. Look for:
- Loose or frayed wires.
- Burn marks on the speed control plate contacts.
- Corrosion on connectors.
If you have a multimeter, you can test for proper continuity across the motor windings and speed control plate. Any faulty parts should be replaced.
Step 7: Test the Mixer
Once you’ve cleaned, adjusted, and replaced any worn parts, plug in your mixer and test it. Start at low speed and listen for a smooth hum. Gradually increase speed and watch for excessive vibration or heat. Run it for several minutes to ensure it doesn’t overheat. If everything sounds good and stays cool, you’ve successfully fixed the problem.
Tips to Prevent Overheating in the Future
Now that your mixer is back to normal, keep it that way with these best practices:
- Stay within capacity: Don’t overload your mixer with too much dough or batter.
- Use the correct speed: Always use speed 2 for kneading bread.
- Keep it clean: Wipe down after each use and clean the motor housing periodically.
- Check the brushes: Inspect and replace motor brushes every few years or sooner if heavily used.
- Regrease the gearbox: Every 3–5 years, replace the grease to keep gears running smoothly.
- Let it rest: If you’re making multiple heavy batches, give the mixer a few minutes to cool between loads.
Where To Find Us
If you need any replacement parts for your appliances, you can enter your model number at AppliancePartsPros.com to locate and order them quickly. Most orders arrive in just two business days, and we have tons of great information in our repair help section and YouTube videos to help you troubleshoot.
Stay connected with the latest DIY tips, tutorial videos, and repair guides by following us on Facebook, Instagram, and Twitter. We love hearing about your repair stories and successes. If you need more help or want personalized guidance, feel free to reach out. We’re ready to help you take on your next project with confidence!
 Image by Jill Wellington from Pixabay
https://www.appliancepartspros.com/b/wp-content/uploads/2022/10/kitchen-aid-mixer.jpg
1280
1920
APP Expert
https://www.appliancepartspros.com/b/wp-content/uploads/2020/11/app-logo-std.png
APP Expert2022-12-01 13:04:002023-02-01 12:36:25How to Maintain Your Mixer for Holiday Baking
Image by Jill Wellington from Pixabay
https://www.appliancepartspros.com/b/wp-content/uploads/2022/10/kitchen-aid-mixer.jpg
1280
1920
APP Expert
https://www.appliancepartspros.com/b/wp-content/uploads/2020/11/app-logo-std.png
APP Expert2022-12-01 13:04:002023-02-01 12:36:25How to Maintain Your Mixer for Holiday Baking https://www.appliancepartspros.com/b/wp-content/uploads/2022/11/shutterstock_1313520884-scaled.jpg
1709
2560
APP Expert
https://www.appliancepartspros.com/b/wp-content/uploads/2020/11/app-logo-std.png
APP Expert2022-10-25 11:00:002025-07-22 07:23:36How To Replace A Mixer Speed Control Plate
https://www.appliancepartspros.com/b/wp-content/uploads/2022/11/shutterstock_1313520884-scaled.jpg
1709
2560
APP Expert
https://www.appliancepartspros.com/b/wp-content/uploads/2020/11/app-logo-std.png
APP Expert2022-10-25 11:00:002025-07-22 07:23:36How To Replace A Mixer Speed Control Plate Photo by Pavel Danilyuk: https://www.pexels.com/photo/stand-mixer-on-a-table-6996340/
https://www.appliancepartspros.com/b/wp-content/uploads/2022/09/pexels-pavel-danilyuk-6996340-scaled.jpg
1710
2560
APP Expert
https://www.appliancepartspros.com/b/wp-content/uploads/2020/11/app-logo-std.png
APP Expert2022-09-27 11:00:002023-02-01 13:31:58How To Clean And Maintain Your Stand Mixer
Photo by Pavel Danilyuk: https://www.pexels.com/photo/stand-mixer-on-a-table-6996340/
https://www.appliancepartspros.com/b/wp-content/uploads/2022/09/pexels-pavel-danilyuk-6996340-scaled.jpg
1710
2560
APP Expert
https://www.appliancepartspros.com/b/wp-content/uploads/2020/11/app-logo-std.png
APP Expert2022-09-27 11:00:002023-02-01 13:31:58How To Clean And Maintain Your Stand MixerWith nearly a decade of experience in providing top-notch customer service regarding appliance parts and repair, Steven enjoys sharing practical advice, troubleshooting tips, and interesting information to help readers stay informed.