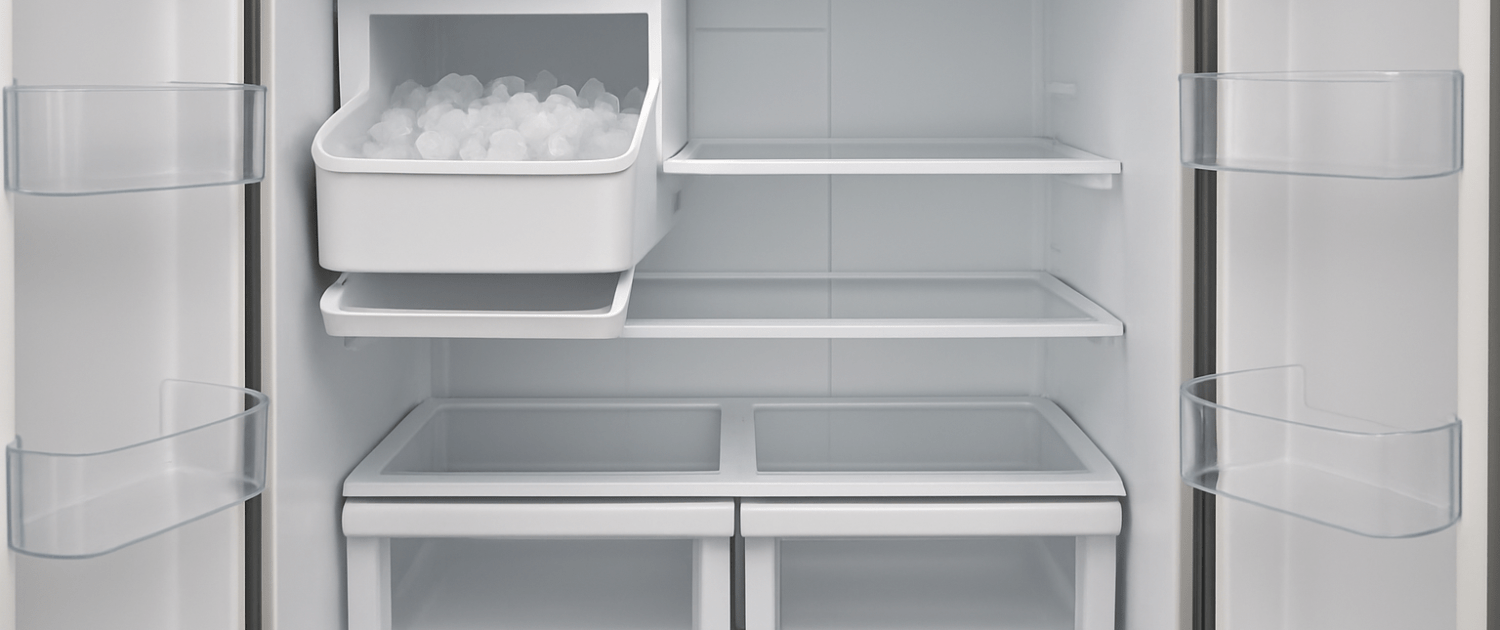
Whirlpool Fridge Ice Bin Won’t Lock? Easily Replace the Latch
Steven E / Wednesday June 18, 2025
Is your ice bin constantly slipping out of place or just not sitting right? The solution could be a simple latch replacement, and we’re here to guide you through it without any technical jargon. Dive into our detailed guide and discover the step-by-step video below to fix the issue and keep your freezer functioning smoothly!
Looking for the right part? Enter your appliance model number below to find the exact match and get your appliance running like new again!
Having trouble getting your ice bin to stay locked in place or noticing it’s a bit wobbly? The ice bin latch, part W11652042, might be the culprit. This latch keeps the ice bin secure so your dispenser works smoothly without jams or misalignment. If it’s broken or worn out, replacing it is a quick and easy fix that can save you from bigger hassles down the line. In this guide, we’ll show you step-by-step how to replace the ice bin latch and get everything snapping into place like it should. Let’s get started!
Watch here: How to replace the ice bin on a refrigerator
The information in this article may not apply to your specific appliance model. We recommend consulting your manufacturer’s documentation or contact us with any questions.
Tools and materials needed
One advantage of DIY refrigerator repair is that special tools usually aren’t required. To complete an ice bin latch replacement, you only need:
- Small flathead screwdriver
- Ice bin latch part number W11652042 – Take your model number to AppliancePartsPros.com to locate the correct part.
Safety first
When working on any appliance, always keep safety first to avoid personal injury or damage to the appliance or parts. Here are some safety tips to keep in mind:
- Always power off and unplug your appliance or switch off the circuit breaker before you attempt any maintenance or replacement work. This keeps you safe by preventing any risk of electric shock.
- Take your time while working to prevent accidents and personal injuries. Rushing is the enemy of precision.
- Work in a well-lit area so you can clearly see and access appliance parts.
- Keep your workspace free of clutter and other obstacles. Keep children and pets away from the work area.
- Never work on internal parts with wet hands. Make sure the work area is completely dry.
- Check the user manual to see if there are specific installation or safety instructions related to your appliance or replacement part.
- Be gentle when handling or removing parts. Excessive force might damage the appliance or cause personal injury.
- Wear insulated work gloves to protect your hands from sharp metal parts and debris.
Replacement Steps
- Open the freezer door.
- Press down on the latch to open the ice bin.
- Lift the ice bin straight out and empty it if there is ice inside.
- Place the bin on the counter.
- Insert a flat screwdriver into one side of the damaged ice bin latch, using the cutouts along the edges to get underneath the plastic piece.
- Gently pry and work the latch out from one side to the other, using the screwdriver to walk along the edge.
Note: Be careful not to crack the ice bin housing!
- Once the latch is completely loosened, slide the broken latch out and discard it.
- Line up the new latch with the slot on the top edge of the ice bin.
- Press the latch straight down to snap it firmly into place.
- Run your finger along the edges to ensure it’s seated properly.
- Double-check the alignment and fit to confirm the latch is completely inserted and sitting straight in its slot.
- Clean out any remaining debris from the ice bin using warm water.
- Ensure no ice chunks or cubes remain.
- Slide the ice bin back into position.
- Close the bin—it should latch shut now.
- Close the freezer door.
- Plug the unit back in.
More information
Thanks for reading! We hope this guide helped you replace the ice bin latch in your Whirlpool refrigerator.
If you still need some replacement parts, grab your model number and head over to AppliancePartsPros.com. We offer over two million parts and most orders arrive in two business days. If you need some help with finding the right part or placing an order, you can contact our team at 1 (877) 477-7278.
While you’re waiting for your new part to arrive, you can explore our DIY blog and watch thousands of video tutorials on our YouTube channel.
Be sure to follow us on Facebook, Twitter and Instagram to see our latest repair guides!
With nearly a decade of experience in providing top-notch customer service regarding appliance parts and repair, Steven enjoys sharing practical advice, troubleshooting tips, and interesting information to help readers stay informed.


