Whirlpool Fridge Light Module W11683241 Replacement Guide
Steven E / Thursday June 19, 2025
Is your Whirlpool refrigerator leaving you in the dark every time you reach for a midnight snack? If dim or dark fridge interiors are becoming a major inconvenience, it’s likely an easy fix with a simple LED light module replacement. Get ready to illuminate your space again with our step-by-step guide and helpful how-to video below!
Looking for the right part? Enter your appliance model number below to find the exact match and get your appliance running like new again!
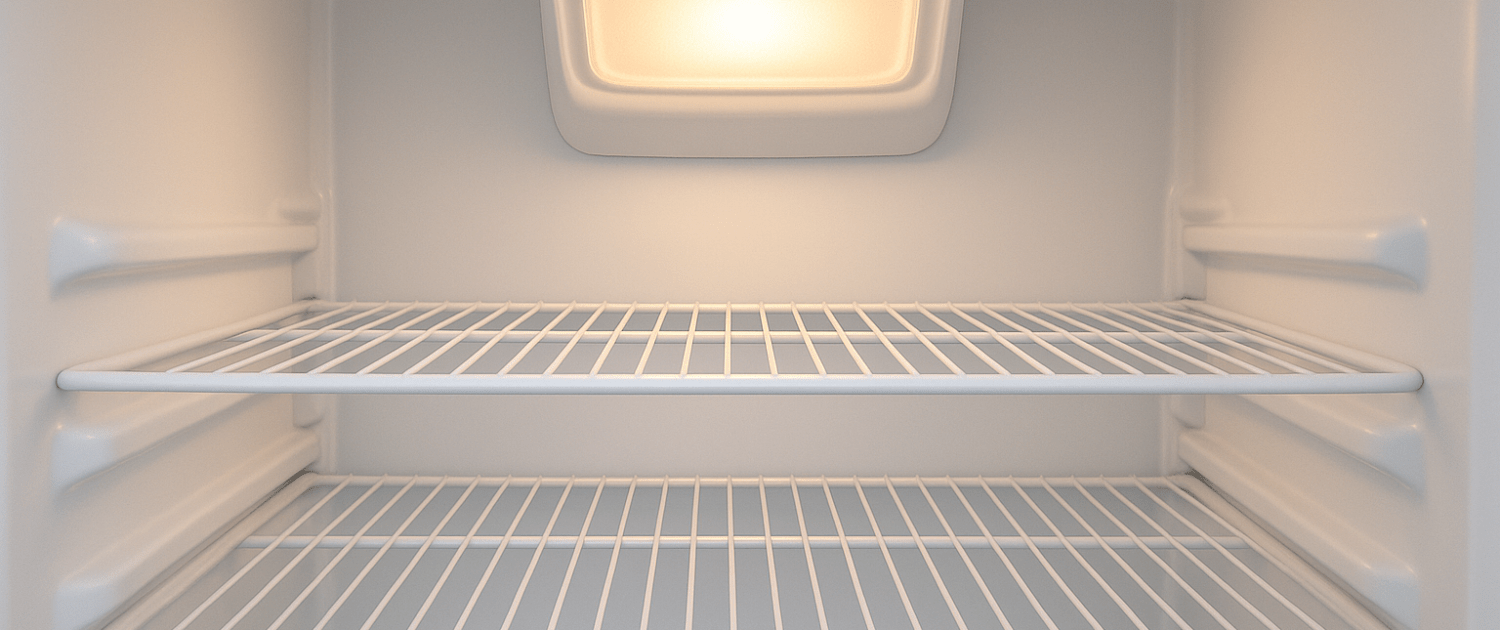
If the inside of your Whirlpool refrigerator is getting dim or certain sections are completely dark, the LED light module may need to be replaced. Part number W11683241 is designed to keep your fridge well-lit so you can easily see everything inside. When the light goes out, it’s usually a quick and easy fix that doesn’t require a service call. In this guide, we’ll walk you through how to remove the faulty module and install a new one to brighten things up again. Let’s get started.

Watch here: How to replace an LED light module in a refrigerator
The information in this article may not apply to your specific appliance model. We recommend consulting your manufacturer’s documentation or contact us with any questions.
Safety First
When working on any appliance, remember to keep safety first. Here are some tips to keep in mind:
- Always power off and unplug your appliance or switch off the circuit breaker before you attempt any maintenance or replacement work. This keeps you safe by preventing any risk of electric shock.
- If the appliance has recently been used, give it plenty of time to cool down before working on it.
- Take your time while working to prevent accidents and personal injuries. Rushing is the enemy of precision.
- Work in a well-lit area so you can clearly see and access appliance parts.
- Keep your workspace free of clutter and other obstacles. Keep children and pets away from the work area.
- Never work on internal parts with wet hands. Make sure the work area is completely dry.
- Check the user manual to see if there are specific installation or safety instructions related to your appliance or replacement part.
- Be gentle when handling or removing parts. Excessive force might damage the appliance or cause personal injury.
- Wear insulated work gloves to protect your hands from sharp metal parts and debris.
- When working with wires, avoid touching any exposed wires or terminals. If you need to touch a wire, use a non-conductive tool or wear insulating gloves to prevent electrical shock.
- Consider wearing safety glasses and/or a dust mask when working with chemicals, dust or a large amount of debris to prevent irritation or injury.
Tools and materials needed
Replacing the LED module will require just a few key tools and parts:
- LED light module kit W11683241– Take your model number to AppliancePartsPros.com to locate the correct part for your unit.
- Putty knife
- Side cutters
- Pliers
Step 1- Access the LED light module
- Open the refrigerator door all the way.
- Remove any shelves or drawers in your way by sliding them straight out.
- Locate the LED module mounted on the left wall of the fresh food area near the bottom.
Step 2- Remove the LED module
- Insert a putty knife into the module housing from the bottom.
- Gently pry the module free by working the putty knife around the sides.
- Once freed enough, press down on the release tab and disconnect the wiring plug.
- Set the old module aside and prepare the new replacement.
Take care not to damage the wire connections when prying off the module. Gently work the putty knife until you can access the release tab.
Step 3- Install the LED replacement module
- Plug the wiring connector into the socket on new LED module.
- Position replacement module in opening, managing excess wiring by tucking neatly off to the side.
- Press firmly until the module snaps fully into place.
If you encounter resistance in inserting the module, double-check that all wiring is neatly positioned such that it doesn’t obstruct or block the housing. Apply even pressure until properly seated.
Step 4- Modify wiring if necessary
If the old module won’t detach fully, modification of the wiring may be needed:
- Use side cutters to clip wiring from old module as close to the body as possible.
- Take replacement wire connectors from the parts kit.
- Attach connectors to both ends of the clipped wires – old module side and new wires.
- Once wired, insert a new module into the opening as normal.
Step 5- Reassemble and confirm operation
- Replace any shelves or drawers previously removed.
- Close refrigerator and freezer doors.
- Restore power via plug or breaker.
- Verify new LED modules activate and provide light inside when doors open.
More information
Thanks for reading! We hope this guide helped you replace the LED light module in your Whirlpool refrigerator.
If you still need some replacement parts, grab your model number and head over to AppliancePartsPros.com. We offer over two million parts and most orders arrive in two business days. If you need some help with finding the right part or placing an order, you can contact our team at 1 (877) 477-7278.
While you’re waiting for your new part to arrive, you can explore our DIY blog and watch thousands of video tutorials on our YouTube channel.
Be sure to follow us on Facebook, Twitter and Instagram to see our latest repair guides!
- Disconnect power before you start — unplug it or switch off the breaker, and confirm it’s dead.
- Follow your local electrical code.
- Anything involving household wiring, outlets, or the breaker panel itself is licensed-electrician territory.
 https://www.appliancepartspros.com/b/wp-content/uploads/2021/08/42_refrigerator-won-t-start-top-6-reasons-and-fixes_middle.png
640
1536
APP Expert
https://www.appliancepartspros.com/b/wp-content/uploads/2020/11/app-logo-std.png
APP Expert2021-08-04 10:08:222026-07-14 07:46:04Refrigerator Won’t Start: Top 6 Reasons and Fixes for Kenmore, Whirlpool, Frigidaire, GE, and Other Brands (With Video!)
https://www.appliancepartspros.com/b/wp-content/uploads/2021/08/42_refrigerator-won-t-start-top-6-reasons-and-fixes_middle.png
640
1536
APP Expert
https://www.appliancepartspros.com/b/wp-content/uploads/2020/11/app-logo-std.png
APP Expert2021-08-04 10:08:222026-07-14 07:46:04Refrigerator Won’t Start: Top 6 Reasons and Fixes for Kenmore, Whirlpool, Frigidaire, GE, and Other Brands (With Video!) https://www.appliancepartspros.com/b/wp-content/uploads/2021/07/38_freezer-is-cold-and-refrigerator-is-warm-top-8_top.png
640
1536
APP Expert
https://www.appliancepartspros.com/b/wp-content/uploads/2020/11/app-logo-std.png
APP Expert2021-07-19 12:02:062026-07-14 07:45:49Freezer is Cold and Refrigerator is Warm: Top 8 Reasons and Fixes for Kenmore, Whirlpool, Frigidaire, GE, and Other Brands (With Video!)
https://www.appliancepartspros.com/b/wp-content/uploads/2021/07/38_freezer-is-cold-and-refrigerator-is-warm-top-8_top.png
640
1536
APP Expert
https://www.appliancepartspros.com/b/wp-content/uploads/2020/11/app-logo-std.png
APP Expert2021-07-19 12:02:062026-07-14 07:45:49Freezer is Cold and Refrigerator is Warm: Top 8 Reasons and Fixes for Kenmore, Whirlpool, Frigidaire, GE, and Other Brands (With Video!) https://www.appliancepartspros.com/b/wp-content/uploads/2021/07/37_ice-buildup-in-refrigerator-compartment-top-7_bottom.png
640
1536
APP Expert
https://www.appliancepartspros.com/b/wp-content/uploads/2020/11/app-logo-std.png
APP Expert2021-07-16 10:44:002026-07-14 07:45:44Ice Buildup in Refrigerator Compartment: Top 7 Reasons and Fixes for Kenmore, Whirlpool, Frigidaire, GE, and Other Brands (With Video!)
https://www.appliancepartspros.com/b/wp-content/uploads/2021/07/37_ice-buildup-in-refrigerator-compartment-top-7_bottom.png
640
1536
APP Expert
https://www.appliancepartspros.com/b/wp-content/uploads/2020/11/app-logo-std.png
APP Expert2021-07-16 10:44:002026-07-14 07:45:44Ice Buildup in Refrigerator Compartment: Top 7 Reasons and Fixes for Kenmore, Whirlpool, Frigidaire, GE, and Other Brands (With Video!)With nearly a decade of experience in providing top-notch customer service regarding appliance parts and repair, Steven enjoys sharing practical advice, troubleshooting tips, and interesting information to help readers stay informed.