Whirlpool Gas Grill Cleaning Made Simple
Steven E / Wednesday April 23, 2025
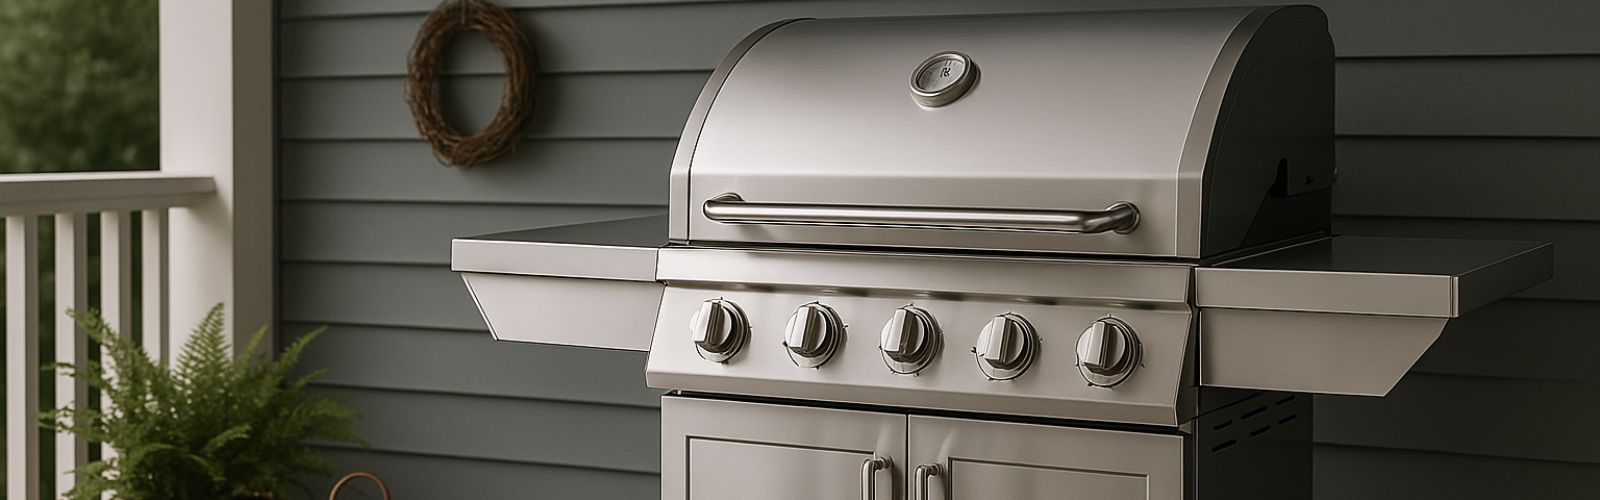
When it comes to outdoor cooking, a clean grill is best. for both safety and flavor. With regular use, your Whirlpool gas grill can accumulate food residue, grease, and other debris. Proper cleaning and maintenance will keep your grill in good condition and make sure that your food is safe to eat. In this article, we will guide you through the steps on how to clean your grill, so you can enjoy cooking and keep your grill in top-notch condition. So, let’s get started!
If you need any replacement parts for your appliance, you can enter your model number at AppliancePartsPros.com to order them. Most orders arrive in just two business days, and we have thousands of free guides to show you how to install your new parts.
The information in this article may not apply to your specific appliance model. We recommend consulting your manufacturer’s documentation or contact us with any questions.
Tools needed
Having the right tools can make the cleaning process much easier and more effective. Here are some tools you may need:

- A grill brush with stiff bristles is needed for cleaning the cooking grates.
- A wire brush or scraper for removing stubborn residue or hardened grease. It can help to dislodge and scrape off any buildup that the grill brush may not fully remove.
- A soft-bristle brush or sponge for gentle scrubbing without causing damage to the surfaces.
- A bucket or container for collecting and disposing of any grease, debris, or cleaning solution.
- A solution of warm, soapy water or a specific grill cleaner or degreaser. Follow the manufacturer’s instructions for safe use of the cleaner.
- Insulated gloves for protecting your hands from chemicals and sharp edges while cleaning.
- Keep a stack of clean towels or cloths for wiping and drying various parts of the grill. They are useful for drying the grates, wiping down surfaces, and ensuring everything is clean and dry before reassembling the grill.
- You may also need a bottle brush for cleaning burner ports, a toothpick for clearing flame ports, and a vacuum cleaner for removing ash or debris from the interior of the grill.
Safety precautions
- Before starting any cleaning or maintenance tasks, turn off the gas supply to the grill, usually by closing the propane tank valve or turning off the natural gas valve. This prevents any accidental gas leaks or flare-ups during the cleaning process.
- Make sure the grill has completely cooled down before attempting to clean it. Wait until the grill is cool to the touch before starting any cleaning tasks.
- Wear insulated or work gloves to protect your hands while cleaning the grill. This is especially important when handling hot grates, burners, or other parts.
- Consider wearing safety goggles or glasses to protect your eyes from any debris or cleaning solutions.
- When cleaning the grill, make sure that the area is well-ventilated to prevent the buildup of fumes or gases. If you’re using any cleaning solutions, follow the manufacturer’s instructions and be mindful of any ventilation requirements.
- When cleaning out the grease tray or removing debris from the grill, dispose of them in a proper waste container. Grease can be flammable, so it’s important to handle and dispose of it safely.
- Avoid cooking with a gas grill in a space with a low ceiling or poor ventilation, as this can increase the risk of carbon monoxide poisoning. The symptoms of carbon monoxide poisoning include headaches, dizziness, nausea, fatigue, confusion, disorientation, slurred speech, and loss of consciousness.
Cleaning steps
Grates
The cooking grates are located on the main grill surface, directly above the burners. They can usually be lifted and removed by hand.
- Preheat your grill on high for about 10-15 minutes to burn off any remaining food particles. This will make it easier to clean the grates. Then, use a grill brush with stiff bristles to scrub the grates while they are still hot. Make sure to wear heat resistant gloves.
- If there is stubborn residue or grease on the grates, remove them from the grill and soak them in warm, soapy water for 15-30 minutes. This will help to loosen the buildup and make it easier to clean. Use a mild dish soap or grill cleaner for the soaking solution.
- After soaking, use a brush or sponge to scrub the grates and remove any remaining residue. For stainless steel grates, use a grill brush or a ball of aluminum foil to scrub. For cast iron grates, use a brush with softer bristles to prevent damage to the seasoning. Scrub both sides of the grates thoroughly.
- Rinse the grates with clean water to remove any soap or cleaning solution residue. Thoroughly dry them using a clean cloth or allow them to air-dry completely before placing them back in the grill. Moisture on the grates can cause rusting.
- If your grill has cast iron grates, it’s important to season them after cleaning to maintain their non-stick properties and prevent rust. Lightly coat the grates with a thin layer of cooking oil or spray them with a non-stick cooking spray. Heat the grill for a few minutes to allow the oil to penetrate and create a protective layer.
- Once the grates are clean and dry, place them securely back into the grill in their original location.
Heat shields
The heat shields are positioned between the burners and the cooking grates and can be lifted out or removed for cleaning.
- Take out the heat shields from the grill. Depending on the design of your grill, they may be individual bars or a single panel.
- Use a brush, such as a wire brush or grill brush, to scrub the heat shields and remove any grease, drippings, or residue.
- If the heat shields have stubborn grease or residue, you can soak them in warm, soapy water for a few minutes to loosen the grime. After soaking, scrub them again with the brush to remove any remaining buildup.
- After cleaning, rinse the heat shields with water to remove any soap or cleaning solution residue. Thoroughly dry them using a clean cloth or allow them to air-dry before reinstalling them in the grill.
- While cleaning, inspect the heat shields for any signs of damage or deterioration. Look for rust, corrosion, or holes that may affect heating. If any damage is found, consider replacing the heat shields with new ones.
- Once the heat shields are clean and dry, reassemble the grill by placing them back into their original location along with any other parts removed.
Burners
The burners are located beneath the cooking grates and are typically positioned in a row or pattern, depending on the grill model. To access them, you may need to remove the cooking grates and heat shields.
- Visually inspect the burners for any blockages or debris. Look for any clogs or obstructions in the gas ports.
- Use a soft brush or a bottle brush to gently clean the burner ports. Brush in a back-and-forth motion to dislodge any debris or buildup that may be obstructing the flow of gas. Be careful not to damage the burner ports.
- Wipe the surface of the burners with a damp cloth or sponge to remove any grease or residue. If there are stubborn stains or buildup, you can use a mild household cleaner or a solution of warm, soapy water to clean the surface. Rinse thoroughly after cleaning and make sure the burners are completely dry before reassembling.
- Once the burners are clean and dry, reassemble the grill by placing the burners back into their original locations. Replace the heat shields and cooking grates. Check that the burners are properly aligned and seated.
Grease tray
Depending on your grill model, the grease tray may slide out from the front, back, or side of the grill, or you may need to remove a panel or cover to access it. Consult your grill’s manual for specific instructions.
- Carefully remove the grease tray from the grill. Dispose of any accumulated grease and drippings into a proper waste container. Be cautious as the tray may be heavy or contain hot liquids.
- Clean the grease tray with warm, soapy water to remove grease and residue. Use a sponge, cloth, or non-abrasive scrub brush to scrub the tray thoroughly, paying attention to any stubborn spots or hardened grease.
- For hardened debris or stubborn grease, a grill scraper or spatula can be used to scrape off the buildup. Be careful not to damage the surface. Avoid using abrasive materials that could scratch or damage the tray.
- Rinse the grease tray with clean water to remove any soap residue. Thoroughly dry the tray using a clean cloth or allow it to air-dry completely before placing it back in the grill.
- While cleaning, check for any signs of damage, such as cracks or excessive rust. If you notice any significant damage, it may be necessary to replace the grease tray with a new one.
- Once the grease tray is clean and dry, place it back in the grill.
Additional information
Thanks for reading! If you have any other appliance repair needs or projects, you can find more resources including our DIY blog at AppliancePartsPros.com. There, you can enter your model number to order the exact parts you need. Most orders arrive in two business days.
You can also reach our award-winning customer service team at 1-877-477-7278, chat with a pro on our website and watch thousands of free video tutorials on our YouTube channel.
 https://www.appliancepartspros.com/b/wp-content/uploads/2025/04/APP-blog-square-114.jpg
1080
1080
Steven E
https://www.appliancepartspros.com/b/wp-content/uploads/2020/11/app-logo-std.png
Steven E2025-04-23 05:31:152025-04-23 05:31:24Whirlpool Gas Grill Cleaning Made Simple
https://www.appliancepartspros.com/b/wp-content/uploads/2025/04/APP-blog-square-114.jpg
1080
1080
Steven E
https://www.appliancepartspros.com/b/wp-content/uploads/2020/11/app-logo-std.png
Steven E2025-04-23 05:31:152025-04-23 05:31:24Whirlpool Gas Grill Cleaning Made Simple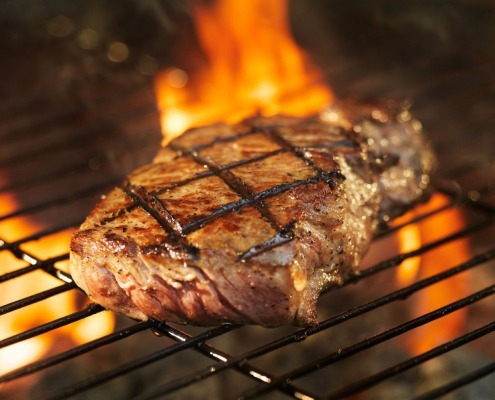 https://www.appliancepartspros.com/b/wp-content/uploads/2023/08/Copy-of-Untitled-Design-1.jpg
973
1296
Steven E
https://www.appliancepartspros.com/b/wp-content/uploads/2020/11/app-logo-std.png
Steven E2023-08-29 13:24:462023-08-29 13:25:03Gas vs. Charcoal Grills: Which Provides Better Long-Term Value?
https://www.appliancepartspros.com/b/wp-content/uploads/2023/08/Copy-of-Untitled-Design-1.jpg
973
1296
Steven E
https://www.appliancepartspros.com/b/wp-content/uploads/2020/11/app-logo-std.png
Steven E2023-08-29 13:24:462023-08-29 13:25:03Gas vs. Charcoal Grills: Which Provides Better Long-Term Value? https://www.appliancepartspros.com/b/wp-content/uploads/2023/08/grilling-accessories.png
616
956
Steven E
https://www.appliancepartspros.com/b/wp-content/uploads/2020/11/app-logo-std.png
Steven E2023-08-02 07:38:332026-01-15 10:50:14Grilling Accessories: Enhance Your BBQ Experience
https://www.appliancepartspros.com/b/wp-content/uploads/2023/08/grilling-accessories.png
616
956
Steven E
https://www.appliancepartspros.com/b/wp-content/uploads/2020/11/app-logo-std.png
Steven E2023-08-02 07:38:332026-01-15 10:50:14Grilling Accessories: Enhance Your BBQ ExperienceWith nearly a decade of experience in providing top-notch customer service regarding appliance parts and repair, Steven enjoys sharing practical advice, troubleshooting tips, and interesting information to help readers stay informed.