Whirlpool gas range spark module 12001596 replacement guide
Steven E / Monday May 19, 2025
Are your Whirlpool gas burners refusing to ignite, leaving you stuck with unlit dinners and unwanted takeout nights? A faulty spark module could be the culprit, but don’t worry—this is a fix you can handle on your own! Discover how you can quickly replace the spark module yourself with just a few basic tools and our easy-to-follow instructional video below.
Looking for the right part? Enter your appliance model number below to find the exact match and get your appliance running like new again!
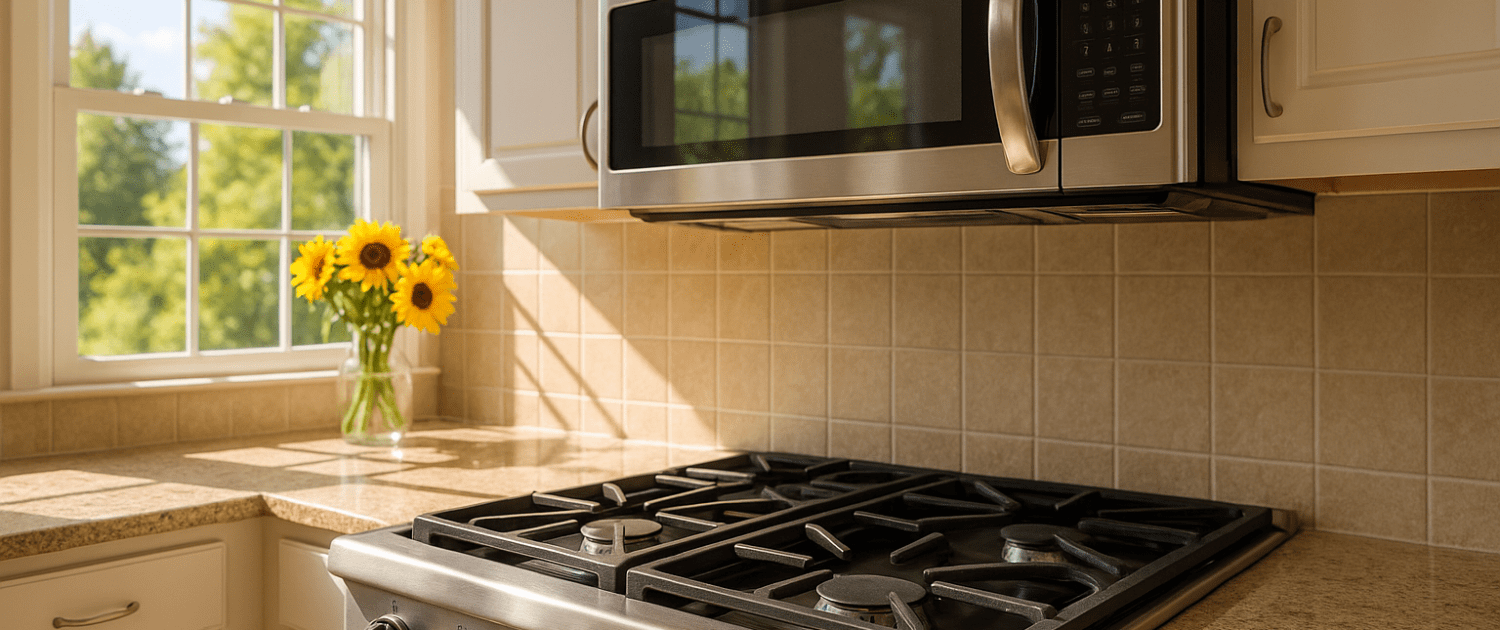
Replacing the spark module 12001596 on your Whirlpool gas range is an incredibly straightforward and quick fix that you can easily tackle by yourself in just a few minutes. When some or all of the burners on your gas stove fail to ignite, it’s often due to a faulty spark module. Thankfully, with a few simple tools and a brand-new spark module kit, you’ll be able to effortlessly restore your stovetop in no time at all. Say goodbye to any potential cooking frustrations and enjoy the peace of mind that comes with a smoothly operating gas range.

Watch: How to replace the spark module
The information in this article may not apply to your specific appliance model. We recommend consulting your manufacturer’s documentation or contact us with any questions.
Why does the spark module need replacing?
The spark module serves a critical role in your range by generating the electric spark that ignites the gas flowing from the burners. As time goes by, the components within the module may experience normal wear and tear, resulting in potential failure. Some common symptoms that indicate a faulty spark module include:
- One or more burners failing to ignite
- Very weak sparks or no sparks at all
- Inconsistent ignition or only intermittent success
- the presence of a burning or electrical scent emanating from the range
When any of these issues arise, it’s a clear indication that the spark module needs to be replaced. However, as this repair is easily manageable and can be taken care of in no time.
Gathering the necessary tools and replacement part
Replacing a kitchen range spark module requires just a few basic tools:
- 1/4-inch nut driver – for removing the retaining screw on the module cover
- Flat blade screwdriver – to pry off wire connectors and release locking tabs
- Needle-nose pliers – for pulling ignition wires off the old module
- Phillips screwdriver – to secure the new module with a screw
- Spark Module- Use your model number to locate the correct part for your unit.
Always prioritize safety when working with any electrical appliance. Before starting the repair, make sure that the power to the stove is switched off at the breaker and unplug the range from the power outlet. Also, it’s recommended to turn off the gas supply before beginning the repair. This step adds an extra layer of safety to prevent any accidental gas leaks.
Step-by-step spark module replacement
With the right tools on hand and the new part ready, you’re ready to get started:
Remove the spark module cover
- To access the spark module in your range, you can find it located at the back. To remove the cover, locate the screw on the right side and use the 1/4-inch nut driver to unscrew it.
- There is also a retaining screw on the left side that needs to be loosened.
- Once both screws are out, gently pull off the metal cover.
- Use a flathead screwdriver to unlock the tabs and release the old module from the cover.
Detach wires and remove the old module
- There will be two larger terminals for line in and neutral. Use the flathead screwdriver to pry off the wire connectors attaching the power supply wires to the module.
- Use the needle-nose pliers to grasp and pull off each of the four ignition wires.
- Remove the mounting screws to fully detach the module and bracket from the stove.
Install new bracket and module
- Install the new spark module on the cover and secure it with the screw.
- Make sure the module is oriented correctly before fully tightening.
Reconnect wires and replace the cover
- Connect the power wires, it doesn’t matter which order those are connected. Remember these are for the large terminals.
- Use needle nose pliers to connect the spark igniter wires, it doesn’t matter which order those are connected.
- Tuck all the wires neatly into the cover opening before replacing the metal cover.
- Insert and tighten the retaining screws on the left and right sides.
Restoring power and testing operation
With the new spark module installed, you’re ready to wrap up:
- Restore power and gas to the range
- Turn on the burners one by one and check that the igniters are sparking correctly.
- If there are any issues with ignition, double-check that all wire connections are secure.
- If the problem persists, the igniters themselves may need to be replaced.
Once everything has been verified, your gas burners should ignite smoothly and consistently once again. The addition of the new spark module proved to be the perfect solution!
Where To Find Us
If you need any replacement parts for your appliances, you can enter your model number at AppliancePartsPros.com to locate and order them quickly. Most orders arrive in just two business days, and we have tons of great information in our repair help section and YouTube videos to help you troubleshoot.
Stay connected with the latest DIY tips, tutorial videos, and repair guides by following us on Facebook, Instagram, and Twitter. We love hearing about your repair stories and successes. If you need more help or want personalized guidance, feel free to reach out. We’re ready to help you take on your next project with confidence!
 https://www.appliancepartspros.com/b/wp-content/uploads/2023/05/257_electric-range-heating-coil-cleaning-upkeep_top.png
640
1536
APP Expert
https://www.appliancepartspros.com/b/wp-content/uploads/2020/11/app-logo-std.png
APP Expert2023-05-04 13:23:412026-01-22 10:41:41Electric Range Heating Coil Cleaning & Upkeep
https://www.appliancepartspros.com/b/wp-content/uploads/2023/05/257_electric-range-heating-coil-cleaning-upkeep_top.png
640
1536
APP Expert
https://www.appliancepartspros.com/b/wp-content/uploads/2020/11/app-logo-std.png
APP Expert2023-05-04 13:23:412026-01-22 10:41:41Electric Range Heating Coil Cleaning & Upkeep https://www.appliancepartspros.com/b/wp-content/uploads/2023/04/ChatGPT-Image-Jan-22-2026-02_53_49-PM.png
1024
1536
APP Expert
https://www.appliancepartspros.com/b/wp-content/uploads/2020/11/app-logo-std.png
APP Expert2023-04-03 07:41:002026-01-22 11:57:06Troubleshooting Guide: What to Do When Your Kitchen Exhaust Fan or Range Hood Isn’t Pulling Air
https://www.appliancepartspros.com/b/wp-content/uploads/2023/04/ChatGPT-Image-Jan-22-2026-02_53_49-PM.png
1024
1536
APP Expert
https://www.appliancepartspros.com/b/wp-content/uploads/2020/11/app-logo-std.png
APP Expert2023-04-03 07:41:002026-01-22 11:57:06Troubleshooting Guide: What to Do When Your Kitchen Exhaust Fan or Range Hood Isn’t Pulling Air https://www.appliancepartspros.com/b/wp-content/uploads/2023/03/ChatGPT-Image-Jan-22-2026-03_19_55-PM.png
1024
1536
APP Expert
https://www.appliancepartspros.com/b/wp-content/uploads/2020/11/app-logo-std.png
APP Expert2023-03-26 13:38:002026-01-22 12:26:39Your Kitchen Cleaning Chemical Guide
https://www.appliancepartspros.com/b/wp-content/uploads/2023/03/ChatGPT-Image-Jan-22-2026-03_19_55-PM.png
1024
1536
APP Expert
https://www.appliancepartspros.com/b/wp-content/uploads/2020/11/app-logo-std.png
APP Expert2023-03-26 13:38:002026-01-22 12:26:39Your Kitchen Cleaning Chemical GuideWith nearly a decade of experience in providing top-notch customer service regarding appliance parts and repair, Steven enjoys sharing practical advice, troubleshooting tips, and interesting information to help readers stay informed.