Whirlpool Induction Cooktop F-25 Error? Here’s the Fix
Steven E / Tuesday May 6, 2025
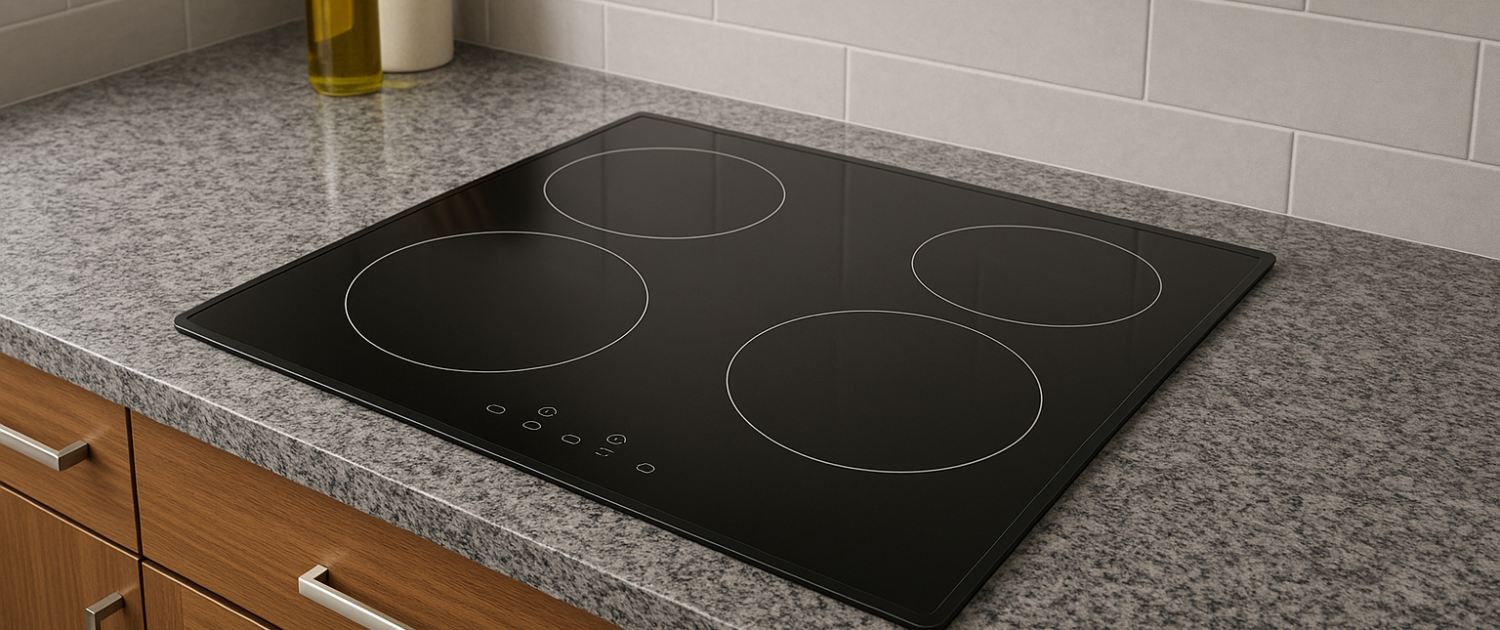
If you own a Whirlpool induction cooktop and are encountering the F-25 error code, don’t worry! This error code is designed to alert you to a specific issue with your cooktop and can be resolved with some basic troubleshooting steps. This guide will help you navigate through the troubleshooting process and get your Whirlpool induction cooktop back up and running in no time. So let’s dive in and resolve the F-25 error code issue together!
If you find out that you need any replacement parts for your Whirlpool induction cooktop while you’re troubleshooting, you can enter your model number at AppliancePartsPros.com to order them. Most orders arrive in just two business days, and we have thousands of free guides to show you how to install your new parts.
The information in this article may not apply to your specific appliance model. We recommend consulting your manufacturer’s documentation or contact us with any questions.
What the error means
Error Code F-25 on the Whirlpool Induction Cooktop indicates a stuck fan on the power control board. The error affects both burners associated with the specific left or right power control board. By identifying whether the error is on the right or left side of the display, you can determine which side’s fan is causing the issue.

A bad fan motor can disrupt the cooling system, leading to potential overheating and damage to the cooktop. Therefore, it is essential to troubleshoot and resolve the issue promptly. The following sections will guide you through the necessary steps to troubleshoot, test, and replace the faulty parts.
Safety precautions
When working on any appliance, remember to keep safety first. Here are some tips to keep in mind:
- Always power off and unplug your appliance or switch off the circuit breaker before attempting any maintenance or replacement work. This keeps you safe by preventing any risk of injury from electric shock.
- Turn off the water supply at the outlet before beginning repairs to any appliance parts that hold water. Have towels ready for any residual water in the system when removing parts.
- Wear insulated work gloves to protect your hands from sharp metal parts, pinching hazards and debris.
- Don’t test wiring with a multimeter for live voltage if you’re unfamiliar with how to prevent short circuiting when testing.
- When working with wires, avoid touching any exposed wires or terminals. If you need to touch a wire, use a non-conductive tool or wear insulating gloves to prevent electrical shock.
- Take your time and don’t rush while working to prevent accidents and personal injuries.
- Work in a well-lit area so you can clearly see and access the interior parts.
- Clear your workspace of clutter and other obstacles. Keep children and pets away from the work area.
- Never work on internal parts with bare wet hands. Make sure the work area is completely dry.
- Check your user manual to see if there are specific installation or safety instructions for your part or appliance.
- Be gentle when handling or removing parts. Excessive force might damage the appliance or cause injury.
- Wear safety glasses when working with chemicals, dust or cleaning large debris to prevent injury.
- If the appliance has recently been used, give it plenty of time for any heating parts to cool down before working on it.
- Take pictures or make a note of wiring terminals or other connections before disconnecting to prevent any problems with reassembly.
Accessing the cooling fan
- Unplug the cooktop from the power outlet or disconnect its power supply.
- Remove the cooktop glass carefully by removing the screws from the front and sides of the glass brackets. Lift the cooktop to remove.
- Remove the elements from the cooktop.
- Locate and remove the screws that secure the aluminum plate, as well as the ground screw. Ensure that you replace the ground screw when reassembling.
- Disconnect the 3-wire fan connector from the power control board.
- Remove the two screws that hold the cooling fan in place and lift the fan from the power control board.
Troubleshooting steps
- Disconnect the power supply to the cooktop before attempting any troubleshooting or repairs to ensure your safety.
- Check that the connectors for the cooling fan are securely plugged into both the fan itself and the power control board. Make sure they are not loose or disconnected.
- Replace all parts and panels that were removed during the troubleshooting process before operating the cooktop again.
- Reconnect the power supply after ensuring all parts and panels are properly in place.
- If the issue persists, disconnect the power supply again.
- Obtain a new OEM cooling fan compatible with your specific cooktop model. You can find replacement parts and access diagrams on AppliancePartsPros.com.
- Install the new cooling fan by following the instructions provided with the part. Make sure it is securely connected to the power control board and properly mounted.
- Replace all parts and panels that were removed during the fan replacement process before operating the cooktop.
- Reconnect the power supply after confirming everything is in place.
- If the problem still persists, disconnect the power supply before proceeding.
- Access the power control board by following the necessary steps specific to your cooktop model. This may involve removing additional panels or components.
- Remove the faulty power control board and replace it with a compatible new part. Refer to AppliancePartsPros.com or the manufacturer’s instructions for the correct replacement part.
- Once the new power control board is installed, replace all parts and panels that were removed during the replacement process.
- Reconnect the power supply after ensuring everything is properly assembled.
- If you have made any changes to the configuration during troubleshooting or replacement, it is important to reconfigure the cooktop using the Manual Configuration Mode.
Manual configuration mode
After replacing any parts on your cooktop, it may be necessary to reconfigure using the Manual Configuration Mode. This ensures that the cooktop recognizes the new fan or power control board and operates correctly. Follow these steps to enter the Manual Configuration Mode:
- Press the Control Lock button to deactivate the key-lock feature, if enabled.
- Press the following keys: Timer “-“, Timer “+”, Timer “-“, Timer “+”, Control Lock. After each key press, you will hear a beep sound.
- The Manual Configuration Mode is typically accessible only within the first few minutes after the cooktop is plugged in.
- “CO” will appear on the display, indicating that you have successfully entered the Manual Configuration Mode.
- Press the Control Lock button again, and “OO” will be displayed.
- Configure the cooktop by choosing the appropriate number corresponding to your specific cooktop model. Refer to the tech sheet or documentation provided with your appliance to find the correct configuration number.
- Once you have selected the correct configuration number, press the Control Lock button to confirm the configuration. The cooktop will then download the configuration, which may take a few seconds.
- During the download process, the chosen configuration number will blink on the display, indicating that the cooktop is updating its settings.
- Once the configuration is complete, the cooktop is ready to use.
Additional information
Thank you for reading! We hope this guide helped you get your Whirlpool induction cooktop working again.
If you have any other appliance repair needs or projects, don’t hesitate to explore our other troubleshooting guides and videos.
If you need replacement parts or some extra help with ordering them, grab your model number and head over to AppliancePartsPros.com, where you can chat with a pro, read our DIY blog and more.
Don’t forget to subscribe to us on YouTube and follow us on Facebook, Twitter and Instagram!
 https://www.appliancepartspros.com/b/wp-content/uploads/2024/05/Untitled-design-39.jpg
1080
1080
Steven E
https://www.appliancepartspros.com/b/wp-content/uploads/2020/11/app-logo-std.png
Steven E2024-05-13 08:44:022024-05-13 08:44:11How to troubleshoot the F1 error on an LG induction cooktop
https://www.appliancepartspros.com/b/wp-content/uploads/2024/05/Untitled-design-39.jpg
1080
1080
Steven E
https://www.appliancepartspros.com/b/wp-content/uploads/2020/11/app-logo-std.png
Steven E2024-05-13 08:44:022024-05-13 08:44:11How to troubleshoot the F1 error on an LG induction cooktop https://www.appliancepartspros.com/b/wp-content/uploads/2023/11/89ed4afa-802c-4640-acfc-1c7c37d7c5be.jpeg
1024
1024
Steven E
https://www.appliancepartspros.com/b/wp-content/uploads/2020/11/app-logo-std.png
Steven E2023-11-22 11:49:092023-11-22 11:49:18How to replace electric stove drip pans
https://www.appliancepartspros.com/b/wp-content/uploads/2023/11/89ed4afa-802c-4640-acfc-1c7c37d7c5be.jpeg
1024
1024
Steven E
https://www.appliancepartspros.com/b/wp-content/uploads/2020/11/app-logo-std.png
Steven E2023-11-22 11:49:092023-11-22 11:49:18How to replace electric stove drip pans https://www.appliancepartspros.com/b/wp-content/uploads/2023/11/illustration-of-an-induction-cooking-pot-hovering-over-an-induction-cooker-v2.jpg
844
1500
Samantha Bullington
https://www.appliancepartspros.com/b/wp-content/uploads/2020/11/app-logo-std.png
Samantha Bullington2023-11-22 11:22:022023-12-22 08:30:51Pros and Cons of Induction Cooktops, Stoves & Ranges
https://www.appliancepartspros.com/b/wp-content/uploads/2023/11/illustration-of-an-induction-cooking-pot-hovering-over-an-induction-cooker-v2.jpg
844
1500
Samantha Bullington
https://www.appliancepartspros.com/b/wp-content/uploads/2020/11/app-logo-std.png
Samantha Bullington2023-11-22 11:22:022023-12-22 08:30:51Pros and Cons of Induction Cooktops, Stoves & RangesWith nearly a decade of experience in providing top-notch customer service regarding appliance parts and repair, Steven enjoys sharing practical advice, troubleshooting tips, and interesting information to help readers stay informed.