Whirlpool oven light assembly WP74011278 replacement guide
Steven E / Monday May 19, 2025
Say goodbye to cooking in the dark! If your Whirlpool oven light has flickered its last, you might not just be dealing with a burnt-out bulb. Often, a faulty light assembly is the real culprit, but don’t worry—a DIY fix is at your fingertips. Just scroll down to watch our step-by-step video guide and light up your kitchen in no time.
Looking for the right part? Enter your appliance model number below to find the exact match and get your appliance running like new again!
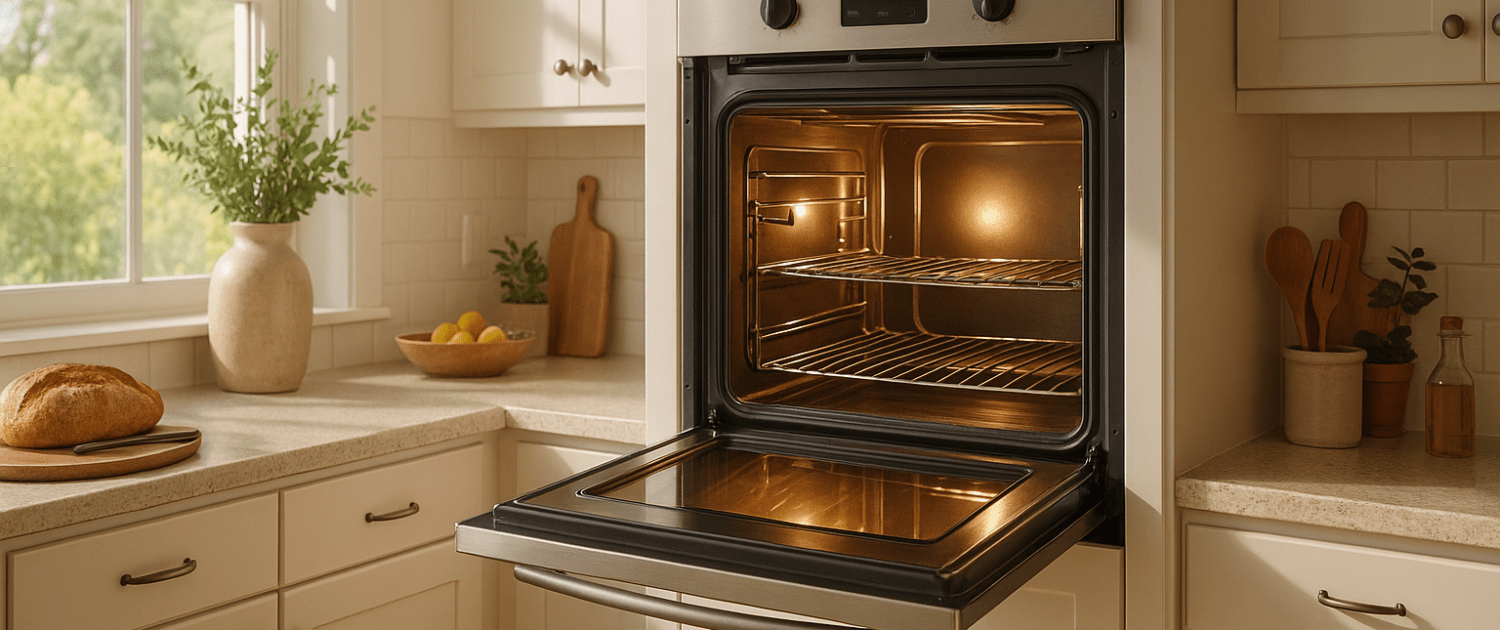
Having a working oven light in your Whirlpool range or wall oven is important for visibility when cooking and inspecting your food. But over time, the oven light can burn out or malfunction. Replacing just the bulb doesn’t always do the trick if the issues lie with the light socket or wiring. When the oven light assembly itself needs replacing, the repair is fairly straightforward if you’re up for a DIY project. With a few tools and a replacement part, you can swap out the oven light assembly in no time at all.

Watch: How to replace oven light assembly
The information in this article may not apply to your specific appliance model. We recommend consulting your manufacturer’s documentation or contact us with any questions.
Replacing Oven Light Assemblies
The oven light assembly is the housing that holds the lightbulb and wiring. It connects to the back wall of the oven cavity and is powered by household electricity. Over time through high heat and vibration, the oven light can stop working properly. Some common oven light issues include:
- The light not turning on
- Light flickering or intermittent operation
- Light bulb burning out frequently
- Cracked or damaged lens cover
If you have any of these common oven light problems, the issue likely lies with the light assembly itself. Simply replacing the light bulb often doesn’t fix these types of faults. The entire oven light assembly eventually needs to be replaced.
On Whirlpool, KitchenAid, and Maytag oven models, the oven light assembly is relatively easy for the DIYer to replace. The repair can be done in no time with some simple tools and the new replacement part.
Safety Tips When Replacing the Oven Light
Anytime you are working on an appliance like the oven, it’s critical to exercise caution and follow safety measures. Here are some key safety tips to follow when replacing an oven light assembly:
- Always make sure the oven is completely cool before starting. Attempting to access a hot oven could result in burns.
- Before servicing the appliance, turn off the power supply at the circuit breaker. This eliminates the risk of electric shock.
- Unplug the oven before beginning work for added safety. This helps you make sure no electricity is running to the unit.
- Use insulated gloves when handling hot components like bulbs or housing.
- Wear safety goggles to protect your eyes from debris.
- Take care not to touch or damage wire connections when removing parts.
- Exercise caution when handling broken glass like a shattered light cover.
Following these simple but critical safety tips will allow you to replace the oven light safely and avoid potential electrical or burn hazards.
Gather the Required Tools
You’ll want to have the following tools available before disassembling the oven:
- Replacement oven light assembly (the correct part # for your model)
- Phillips head screwdriver
- Flat head screwdriver
- Needle nose pliers
- Work gloves for protection
- Safety goggles/glasses
Be sure to purchase and have ready the new replacement oven light assembly specific to your appliance’s model number.
How to Replace an Oven Light Assembly in a Whirlpool/KitchenAid/Maytag Oven
- Unplug the oven from the outlet
- Shut off the appropriate circuit breaker
- To start, fully open the oven door. Pull out the top oven rack until it stops, then lift up the front slightly to fully remove it. Set the rack aside. Doing this provides the access you’ll need to the oven light housing.
- Reach inside the oven to access the light assembly. Gently turn the outer lens cover counterclockwise to unscrew it. Remove the lens and set aside.
- Next, grasp the light bulb and turn gently counterclockwise to unscrew it from the socket. Remove the light bulb from the assembly and set it aside with the lens cover.
- Examine the oven light assembly and locate the locking tabs that hold it in place. These are typically positioned at the 12 o’clock and 6 o’clock positions.
- Use a flathead screwdriver to gently pry the locking tabs away from the housing. This will take some care, so work slowly. Bend the tabs down to release the assembly from the wall of the oven.
- You’ll need to disconnect the appliance wires leading to the assembly before fully removing the assembly. Use needle nose pliers to grasp and detach the connector wires from the rear of the assembly. Applying gentle, even pressure, pull the wires off.
- You can now fully remove the oven light assembly by grasping it and pulling it away from the oven wall. Pull firmly but slowly to avoid damaging the wires. Place the old assembly aside.
- You’re now ready to install the replacement oven light assembly. Use the needle nose pliers to grasp the connector wires and attach them to the same terminals on the back of the new assembly. Refer to the wiring diagram that came with the new part for proper connections.
- Carefully insert the new oven light assembly into the opening in the oven wall. Push the assembly in while aligning the locking tabs into their slots. Apply firm pressure to seat the tabs and hold the assembly in place.
- Screw the glass lens cover and light bulb back into place on the new light assembly. Turn them clockwise to tighten. Don’t over-tighten.
- With the light assembly replaced, slide the oven rack back into position and make sure it’s seated properly.
- You’re almost done! Restore power to the oven and plug it back in. Turn on the oven light switch to verify that the new assembly lights up properly. Confirm that it works by observing the light turn on through the oven door glass.
That completes the process of successfully replacing your faulty oven light assembly. With a little time and effort, you can renew the interior lighting of your Whirlpool, KitchenAid or Maytag oven.
Where To Find Us
If you need any replacement parts for your appliances, you can enter your model number at AppliancePartsPros.com to locate and order them quickly. Most orders arrive in just two business days, and we have tons of great information in our repair help section and YouTube videos to help you troubleshoot.
Stay connected with the latest DIY tips, tutorial videos, and repair guides by following us on Facebook, Instagram, and Twitter. We love hearing about your repair stories and successes. If you need more help or want personalized guidance, feel free to reach out. We’re ready to help you take on your next project with confidence!
 https://www.appliancepartspros.com/b/wp-content/uploads/2022/01/92_how-to-replace-an-oven-door-hinge-with-video_bottom.png
640
1536
APP Expert
https://www.appliancepartspros.com/b/wp-content/uploads/2020/11/app-logo-std.png
APP Expert2022-01-28 16:15:422026-01-22 09:53:36How To Replace An Oven Door Hinge (With Video!)
https://www.appliancepartspros.com/b/wp-content/uploads/2022/01/92_how-to-replace-an-oven-door-hinge-with-video_bottom.png
640
1536
APP Expert
https://www.appliancepartspros.com/b/wp-content/uploads/2020/11/app-logo-std.png
APP Expert2022-01-28 16:15:422026-01-22 09:53:36How To Replace An Oven Door Hinge (With Video!) https://www.appliancepartspros.com/b/wp-content/uploads/2022/01/shutterstock_676415506.jpg
1000
1500
APP Expert
https://www.appliancepartspros.com/b/wp-content/uploads/2020/11/app-logo-std.png
APP Expert2022-01-24 12:40:542025-07-17 13:14:28How To Replace An Oven Igniter (With Video!)
https://www.appliancepartspros.com/b/wp-content/uploads/2022/01/shutterstock_676415506.jpg
1000
1500
APP Expert
https://www.appliancepartspros.com/b/wp-content/uploads/2020/11/app-logo-std.png
APP Expert2022-01-24 12:40:542025-07-17 13:14:28How To Replace An Oven Igniter (With Video!)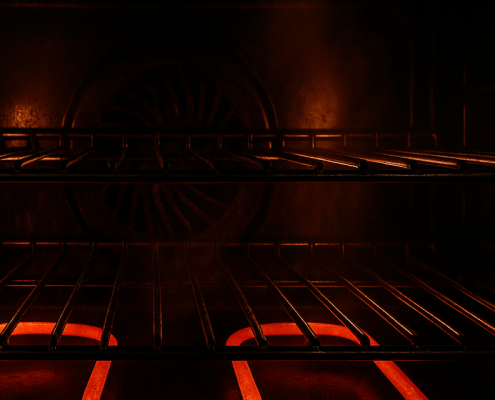 https://www.appliancepartspros.com/b/wp-content/uploads/2021/11/72_how-does-a-self-cleaning-oven-work_middle.png
640
1536
APP Expert
https://www.appliancepartspros.com/b/wp-content/uploads/2020/11/app-logo-std.png
APP Expert2021-11-19 14:52:342026-01-21 11:30:33How Does a Self-Cleaning Oven Work?
https://www.appliancepartspros.com/b/wp-content/uploads/2021/11/72_how-does-a-self-cleaning-oven-work_middle.png
640
1536
APP Expert
https://www.appliancepartspros.com/b/wp-content/uploads/2020/11/app-logo-std.png
APP Expert2021-11-19 14:52:342026-01-21 11:30:33How Does a Self-Cleaning Oven Work?With nearly a decade of experience in providing top-notch customer service regarding appliance parts and repair, Steven enjoys sharing practical advice, troubleshooting tips, and interesting information to help readers stay informed.