Whirlpool Range Ceramic Terminal Block 12001676 Guide
Steven E / Thursday May 22, 2025
Have you ever noticed a burnt smell or discovered blackened wires around your Whirlpool range’s burner? This could signal a faulty ceramic terminal block, potentially causing your burners to malfunction and posing a safety hazard. Fortunately, our step-by-step guide, complete with a helpful how-to video, will show you how to easily replace this part and bring your range back to life.
Looking for the right part? Enter your appliance model number below to find the exact match and get your appliance running like new again!
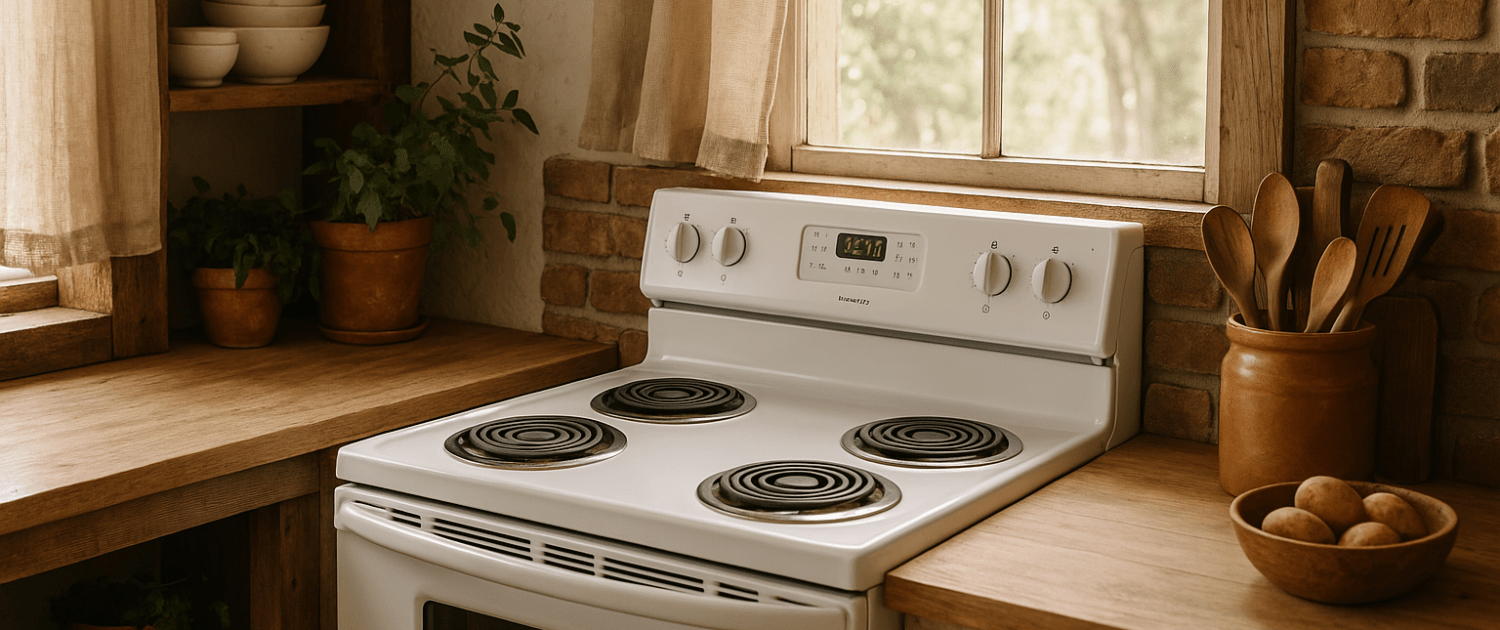
Smell something burnt or see blackened wires behind your Whirlpool range’s burner? It might be the ceramic terminal block (part #12001676). This component helps deliver power from your wiring harness to the heating element, and if it gets damaged or overheated, your burner may stop working—or worse, pose a safety risk. Thankfully, replacing it is a simple DIY fix. We’ll walk you through how to safely swap out the old block and restore your range.

Watch: How to replace ceramic terminal block
The information in this article may not apply to your specific appliance model. We recommend consulting your manufacturer’s documentation or contact us with any questions.
Why Your Range Terminal Block May Need Replacing
The terminal block is the part where the electric coils connect to your range’s internal wiring. Over time, the flow of electricity through these connections can degrade the metal contacts inside the terminal block. This causes poor contact between the burner and the wiring, preventing the burners from heating fully.
Symptoms of a failing ceramic terminal block include:
- Elements taking longer to heat up
- Elements not heating fully
- Elements heating unevenly
If you notice any of these issues, replacing the terminal block should restore proper functionality. With a few tools and safety precautions, you can swap in a new terminal block and be back cooking meals in no time.
Important Safety Tips
When dealing with any electrical appliance repair, safety should always come first. Here are some key tips to follow:
- Turn off power supply – Before starting, make sure to unplug the range or turn off the circuit breaker supplying power to it.
- Let parts cool if needed – If the range was recently in use, allow time for the terminal block area and elements to fully cool to avoid burns.
- Use caution around exposed wiring – There may be some live wiring exposed when you remove the terminal block, so be extra careful not to touch any metal contacts.
Gathering Tools and Supplies
Replacing a terminal block is a straightforward job, but having the right tools makes it much easier. Here’s what you’ll need:
For cooktop disassembly:
- Phillips head screwdriver
- Flat head screwdriver
- Wood block or support rod to prop up the cooktop
For wiring:
- Wire strippers
- Wire cutters
- Needle nose pliers
- Electrical tape
For the new terminal block:
- Replacement ceramic terminal block kit (includes block, wiring, and hardware)
- 1/4″ nut driver or socket wrench
It’s a good idea to have a tray or bowl handy to hold any screws or parts that are removed. A headlamp or flashlight can also help illuminate the tight working area.
How to Replace a Ceramic Stove Terminal Block
Now let’s get into the step-by-step process of swapping out your range’s terminal block. We’ll break it down into easy sections: cooktop removal, terminal block replacement, reassembly, and testing.
Cooktop Removal
The first step is accessing the terminal block itself, which sits underneath the cooktop. Here’s how to safely remove it:
- Turn off the power supply – Unplug the range or turn off the circuit breaker.
- Remove Elements- Lift up each electric coil and disconnect from the terminal block.
- Remove drip pans – Lift out any metal drip pans covering the terminal block opening.
- Remove cooktop mounting screws – Use a Phillips head screwdriver to remove any screws securing the cooktop from underneath.
- Lift cooktop – Slide a wood block or support rod into place underneath, then gently lift up the cooktop. Watch for any wires still attached.
With the cooktop lifted, you now have clear access to the terminal block mounting bracket and wiring connections.
Terminal Block Replacement
With the cooktop lifted safely, you can now detach the old terminal block and install the new replacement:
- Disconnect old terminal block – Use a 1/4″ nut driver to remove any retaining nuts or screws holding the old block to the mounting bracket.
- Cut wire connections – Snip the wires leading into the old terminal block, leaving about 4″ of excess wire to work with.
- Remove old block – Detach the old terminal block fully once the wiring connections are cut.
- Connect new wires – Strip 1″ of insulation off the new wire leads. Use wire nuts to connect them to the existing range wires.
- Mount new block – Position the replacement terminal block in place on the mounting bracket and use the 1/4″ nut driver to secure it with the original hardware.
Installing the new ceramic block takes just a few minutes with the right tools. Be sure to tug test all wire connections to make sure they are tight and secure.
Cooktop Reassembly
You’re now ready to button everything back up by lowering the cooktop back into place:
- Lower cooktop – Carefully pivot the cooktop back down into position, aligning any brackets or openings. Make sure no wires are pinched.
- Replace mounting screws – Use the Phillips head screwdriver to reinstall any screws that secure the underneath of the cooktop.
- Remove cooktop support – Once the cooktop is fully resecured, gently slide out the wooden block or support rod.
- Reinstall drip pans – Place the metal drip pans back over the terminal block openings.
- Replace burners – Reconnect the electric coil elements to the new ceramic terminal block by plugging them in.
With that, the physical cooktop repair is complete! We’re almost ready to test out the new terminal block installation.
Testing and Use
The final step is to verify that the new terminal block is functioning properly before putting your range back into regular use:
- Restore power – Plug the range back in or flip the breaker switch back on.
- Check element operation – Turn on one element at a time and observe the heating action. The element should glow and heat up within 60-90 seconds.
- Verify even heating – Make sure the element heats evenly all the way around without any hot or cool spots.
- Run through all settings – Test the element at both high and low settings, watching for any inconsistent operation.
If each element responds properly through the full range of temps, then the new terminal block is properly installed!
You can now confidently use your range once more for all your cooking needs. Taking the time to proactively replace a failing part has allowed you to extend the usable life of your range and avoid more serious repairs down the road.
Additional information
Thanks for reading! If you have any other appliance repair needs or projects, you can find other resources and our DIY blog at AppliancePartsPros.com. There, you can enter your model number to order the exact parts you need. Most orders arrive in 2-3 business days.
We’re here to help! You can reach our award-winning customer service team at 1-877-477-7278, chat with a pro on our website, and watch thousands of free video tutorials on our YouTube channel.
 https://www.appliancepartspros.com/b/wp-content/uploads/2025/04/APP-blog-square-109.jpg
1080
1080
Steven E
https://www.appliancepartspros.com/b/wp-content/uploads/2020/11/app-logo-std.png
Steven E2025-04-21 12:08:572025-08-08 07:40:53Gas range smells like gas: top 5 reasons and fixes (with video!)
https://www.appliancepartspros.com/b/wp-content/uploads/2025/04/APP-blog-square-109.jpg
1080
1080
Steven E
https://www.appliancepartspros.com/b/wp-content/uploads/2020/11/app-logo-std.png
Steven E2025-04-21 12:08:572025-08-08 07:40:53Gas range smells like gas: top 5 reasons and fixes (with video!) https://www.appliancepartspros.com/b/wp-content/uploads/2025/04/APP-blog-square-93.jpg
1080
1080
Steven E
https://www.appliancepartspros.com/b/wp-content/uploads/2020/11/app-logo-std.png
Steven E2025-04-16 06:09:562025-04-16 06:10:04Easy Steps for a Safe and Successful Gas Stove Installation
https://www.appliancepartspros.com/b/wp-content/uploads/2025/04/APP-blog-square-93.jpg
1080
1080
Steven E
https://www.appliancepartspros.com/b/wp-content/uploads/2020/11/app-logo-std.png
Steven E2025-04-16 06:09:562025-04-16 06:10:04Easy Steps for a Safe and Successful Gas Stove Installation https://www.appliancepartspros.com/b/wp-content/uploads/2025/04/APP-blog-square-1-13.jpg
1080
1080
Steven E
https://www.appliancepartspros.com/b/wp-content/uploads/2020/11/app-logo-std.png
Steven E2025-04-14 12:02:342025-08-08 07:34:04How to test the bake element on a GE Electric oven that won’t heat
https://www.appliancepartspros.com/b/wp-content/uploads/2025/04/APP-blog-square-1-13.jpg
1080
1080
Steven E
https://www.appliancepartspros.com/b/wp-content/uploads/2020/11/app-logo-std.png
Steven E2025-04-14 12:02:342025-08-08 07:34:04How to test the bake element on a GE Electric oven that won’t heatWith nearly a decade of experience in providing top-notch customer service regarding appliance parts and repair, Steven enjoys sharing practical advice, troubleshooting tips, and interesting information to help readers stay informed.