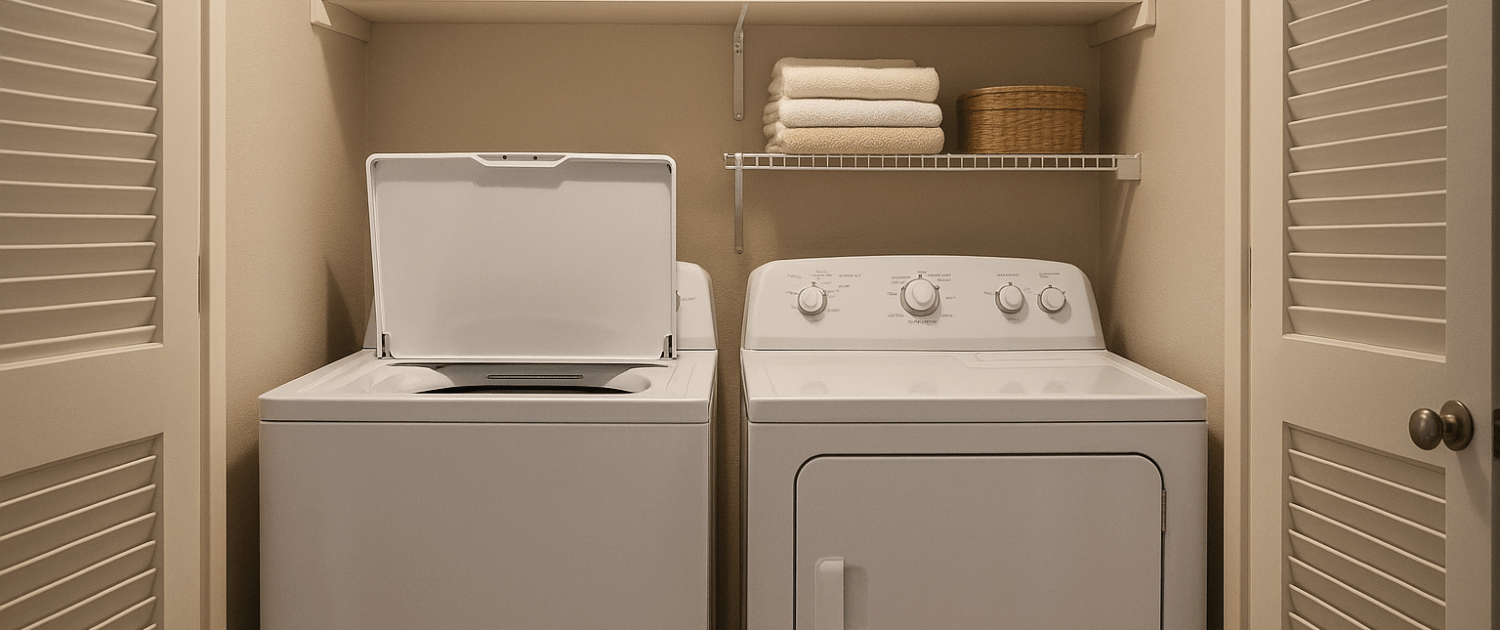
Whirlpool Washer Lid Won’t Stay Open? Replace the Lid Hinge
Steven E / Tuesday June 17, 2025
A wobbly lid or a washer that won’t start? That could mean your Whirlpool washer’s lid hinge is worn out. This small but important part keeps the lid secure, allowing the machine to run properly. Whether you have a gas or electric model, we’ll walk you through testing and replacing it so you can skip the repair bill!
If you need any replacement parts for your Whirlpool washer, you can enter your model number at AppliancePartsPros.com to order them. Most orders arrive in just two business days, and we have thousands of free guides to show you how to install your new parts.
The information in this article may not apply to your specific appliance model. We recommend consulting your manufacturer’s documentation or contact us with any questions.
What you need
- 1/4″ nut driver
- Phillips head screwdriver
- T15 Torx driver
Safety precautions
When working on any appliance, remember to keep safety first. Here are some tips to keep in mind:
- Always power off and unplug your appliance or switch off the circuit breaker before you attempt any maintenance or replacement work. This keeps you safe by eliminating any risk of electric shock.
- If the appliance has recently been used, give it plenty of time to cool down before working on it.
- Take your time while working to prevent accidents and personal injuries. Rushing is the enemy of precision.
- Work in a well-lit area so you can see and access appliance parts.
- Keep your workspace free of clutter and other obstacles. Keep children and pets away from the work area.
- Never work on internal parts with wet hands. Make sure the work area is completely dry.
- Check the user manual to see if there are specific installation or safety instructions related to your appliance or replacement part.
- Be gentle when handling or removing parts. Excessive force might damage the appliance or cause personal injury.
- Wear insulated work gloves to protect your hands from sharp metal parts and debris.
- When working with wires, avoid touching any exposed wires or terminals. If you need to touch a wire, use a non-conductive tool or wear insulating gloves to prevent electrical shock.
- Always take photos or make a note of wiring terminals or other connections before disconnecting them to make reassembly easier.
- Consider wearing safety glasses and/or a dust mask when working with chemicals, dust or a large amount of debris to prevent irritation or injury.
- Turn off the water supply at the outlet before beginning repairs. Keep towels ready to catch any residual water in the system when removing parts.
How to test and replace the Whirlpool washer’s lid hinge
Follow these steps to remove the faulty lid hinge and install a new one so the washer lid stays up properly.
Step 1. Access the lid hinge
- Unplug the washer from the electrical outlet or turn off the power at the breaker.
- Pull the washer out slightly to create a working space.
- Gather necessary tools: ¼” nut driver, putty knife, T15 Torx driver, Phillips head screwdriver, and ¼” hex head driver.
- Use the ¼” nut driver to remove the screws securing the rear panel over the console and set the screws aside.
- Insert a putty knife into the front corners of the console to release the spring clips.
- Lift the console upwards to detach it from the washer.
- Locate and remove the two screws that hold the main top to the back.
- Slide the main top forward, then lift it up slightly before sliding it back to release it fully.
- Support the main top to prevent it from falling.
Step 2. Remove the faulty hinge
- Raise the washer lid.
- Use a T15 Torx driver to remove the two hinge pin screws on both sides.
- Lift the lid off the hinge pin.
- Remove the Phillips head screw from the main top below where the console was.
- Lift the main top and remove the ¼” hex head screw securing the hinge mounting bracket.
- Remove the faulty hinge.
Step 3. Install the new hinge
- Position the new hinge in place.
- Secure the hinge with the ¼” hex head screw.
- Lower the main top back into position.
- Reinsert the Phillips head screw to secure the main top.
- Place the hinge pins back into their slots.
- Slide the lid onto the hinge pins.
- Secure the hinge pins by tightening the screws.
Step 4. Reassemble the washer
- Align the console properly and snap it back into place.
- Reinstall the rear panel and secure it with the ¼” screws removed earlier.
- Secure the main top to the rear panel using the two screws.
- Plug the washer back in or turn the power back on at the breaker.
- Open and close the lid to confirm it stays up and operates correctly.
Need more help?
Thanks for following along! We hope this guide made testing and replacing the lid hinge in your Whirlpool washer a breeze. If you still need parts, bring your model number on over to AppliancePartsPros.com, where you’ll find millions of parts in stock and fast shipping—most arrive in only two days! If you have questions, you can reach us at 1 (877) 477-7278 or chat with us online. Make sure to swing by our DIY blog and YouTube channel for more repair tips. And don’t miss out—follow us on Facebook, X and Instagram to see our latest and greatest!
With nearly a decade of experience in providing top-notch customer service regarding appliance parts and repair, Steven enjoys sharing practical advice, troubleshooting tips, and interesting information to help readers stay informed.


