Whirlpool washing machine agitator assembly 285565 replacement
Steven E / Thursday May 29, 2025
Is your Whirlpool washer misbehaving by making noise, failing to spin, or not cleaning your clothes effectively? Chances are, the agitator assembly is the culprit, but don’t worry—it’s easier to replace than you think! Just grab your toolbox, and we’ll show you exactly how to bring your washer back to peak performance with our step-by-step guide and handy how-to video, right below.
Looking for the right part? Enter your appliance model number below to find the exact match and get your appliance running like new again!
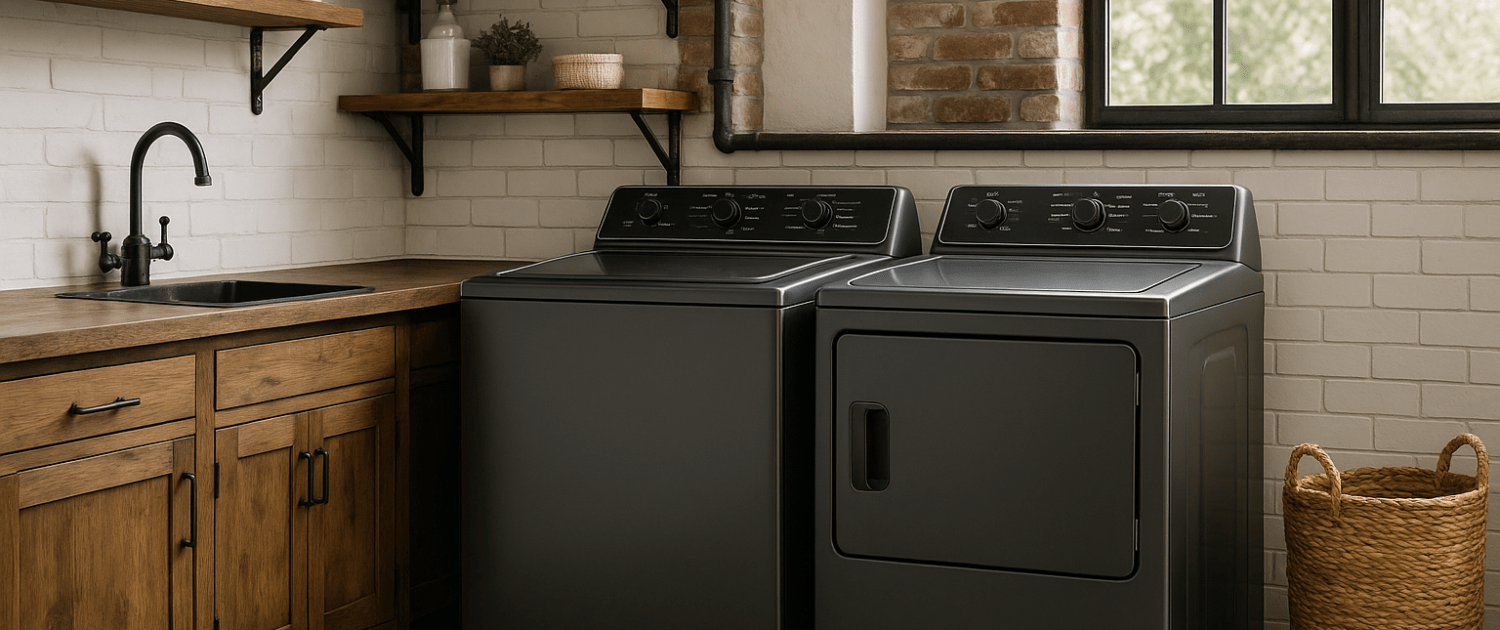
If your Whirlpool washer’s making noise, not spinning clothes around, or just not cleaning like it used to, the agitator assembly might be worn out. The good news? Replacing the complete agitator (part 285565) is super doable, even if you’ve never worked on a washer before. Grab your tool box and let’s go step-by-step to get your washer back in action!

WATCH: How to install agitator assembly
The information in this article may not apply to your specific appliance model. We recommend consulting your manufacturer’s documentation or contact us with any questions.
Tools and materials
- flathead screwdriver
- pliers
- ratchet with extension
- 7/16 inch socket
- Agitator part 285565– Take your model number to AppliancePartsPros.com to locate the correct part for your unit.
Safety first
Safety comes first when working on any appliance. Here are some practical tips to help keep you safe:
- Always turn off the power by unplugging the appliance or switching off the circuit breaker before starting. This protects you from the risk of electric shock.
- Wear insulated gloves to protect your hands from sharp edges, pinching hazards, or debris.
- Take your time and work at a steady pace to avoid accidents or injuries.
- Make sure your workspace is well-lit so you can clearly see and access the parts you’re working on.
- Keep your area organized and free of clutter, and ensure children and pets are kept away from the workspace.
- Never handle internal parts with wet hands. Make sure both your hands and the work area are completely dry.
- Check your appliance’s user manual for specific instructions or safety guidelines related to your repair.
- Handle parts gently to prevent damaging the appliance or injuring yourself by using too much force.
- Wear safety glasses if you’re dealing with chemicals, dust, or large debris to protect your eyes.
- If the appliance was recently used, give it time to cool down before working on any heated components.
- Take photos or notes of wiring connections before disconnecting anything. This makes reassembly much easier.
- Avoid touching exposed wires or terminals. If you need to handle wires, use non-conductive tools or wear insulated gloves to reduce the risk of electrical shock.
Remove the old agitator assembly
Before you start any repair work on your appliance, make sure your appliance is unplugged from the power source or turned off at the circuit breakers. Also, make sure to turn off the water so there are no leaks.
Remove the agitator cap
- If there is a fabric softener dispenser, simply lift it off and set it aside for now.
- If there is an agitator cap, look for a small slot or opening on the cap. Insert a flathead screwdriver into this slot and use it to pry and pop the cap off. The cap seals tightly to the agitator, so you may need to carefully twist the screwdriver to break the seal.
- Once loosened, lift the agitator cap straight up and off the agitator. Set it aside with the fabric softener dispenser if removed.
With the cap removed, you now have access to the top of the agitator assembly.
Remove the agitator bolt
- Locate the bolt in the center of the agitator. Use a ratchet with a 7/16″ socket and an extension piece to reach down to the bolt.
- Turn the ratchet counter-clockwise to loosen and unthread the bolt, but do not fully remove it. Just unthread it enough that the agitator is loose and can be lifted up.
- You may need to steady the agitator with your other hand as you unthread the bolt to prevent the entire agitator from spinning.
- Grip under the lower portion of the agitator and lift straight upwards. The upper and lower sections of the agitator should lift out together as one unit.
- If they do not come out together, you can still remove the lower agitator separately.
- Set the old agitator assembly aside. Take care not to lose the agitator bolt, which will be needed for the new assembly.
With the old agitator removed, the inside tub of the washer is now exposed and ready for the new agitator to be installed.
Install the new agitator assembly
To install the replacement agitator assembly, you will first need to assemble the new parts and make sure the upper and lower sections are securely connected.
Assemble the new agitator
- The new agitator assembly kit should include the upper agitator, the lower agitator, agitator dogs, the thrust washer, the seal, and the inner cap.
- Start by removing the retaining bolt from the old agitator and setting it aside. This bolt gets transferred to the new agitator.
- Place the small rubber seal firmly over the inner cap. Stretch it on evenly.
- Set the thrust washer in place on the top of the lower agitator/agitator dogs. Line up the slots on the washer with the small tabs on the agitator dogs.
- Lower the upper agitator down onto the thrust washer, aligning the tabs on the upper agitator with the slots on the agitator dogs.
- Press the upper and lower sections together until they lock tightly in place. The plastic locking tabs will click when properly seated.
Once assembled, you are ready to install the new agitator into the washer.
Install agitator assembly
- Insert the retaining bolt into the top center of the agitator.
- Carefully lower the entire agitator assembly down into the open tub, guiding the bolt into the hole at the bottom.
- The agitator will fit snugly over the drive shaft. You may need to rotate it slightly to line it up correctly.
- Once seated on the shaft, reach down with your ratchet and extension to tighten the retaining bolt.
- As you tighten the bolt, grip the lower agitator firmly with your other hand to prevent the assembly from spinning as you tighten it.
- Tighten the bolt completely until secure. Avoid over-tightening.
Replace inner cap
- Lightly lubricate the o-ring seal on the new inner cap with a small amount of liquid detergent or liquid soap. This helps the cap slide down into place easier.
- Align the inner cap over the agitator and press straight down until it seats completely into place.
- You may need to rotate it slightly to fit it into the grooves. Apply even pressure as you seat it.
- If the cap seems stuck, don’t force it. Remove it, re-lubricate the o-ring, and try again until the cap fits into place.
- If you removed a fabric softener dispenser, align it over the inner cap and snap it back into place.
- Close the washer lid completely and securely.
- Restore power to the appliance and plug it back in.
- Run a test wash cycle to verify the agitator is functioning properly without leaks or issues.
More Information
Thanks for reading! We hope this article helped you replace the agitator assembly in your Whirlpool, KitchenAid or Maytag washing machine.
If you still need some replacement parts, grab your model number and head over to AppliancePartsPros.com. We offer over two million parts and most orders arrive in two business days. If you need some help with finding the right part or placing an order, you can contact our team at 1 (877) 477-7278.
While you’re waiting for your new part to arrive, you can explore our DIY blog and watch thousands of video tutorials on our YouTube channel.
Be sure to follow us on Facebook, Twitter and Instagram to see our latest repair guides!
 https://www.appliancepartspros.com/b/wp-content/uploads/2021/09/20250421_0956_Modern-Laundry-Room_simple_compose_01jsca1zmre6r82k9gcfpjdjze.png
1024
1536
APP Expert
https://www.appliancepartspros.com/b/wp-content/uploads/2020/11/app-logo-std.png
APP Expert2021-09-10 11:47:002026-01-21 06:31:28Washing Machine Door is Stuck: Top 5 Problems and Fixes for Top-Loading and Side-Loading Washers (With Video!)
https://www.appliancepartspros.com/b/wp-content/uploads/2021/09/20250421_0956_Modern-Laundry-Room_simple_compose_01jsca1zmre6r82k9gcfpjdjze.png
1024
1536
APP Expert
https://www.appliancepartspros.com/b/wp-content/uploads/2020/11/app-logo-std.png
APP Expert2021-09-10 11:47:002026-01-21 06:31:28Washing Machine Door is Stuck: Top 5 Problems and Fixes for Top-Loading and Side-Loading Washers (With Video!) https://www.appliancepartspros.com/b/wp-content/uploads/2021/08/49_washing-machine-timer-won-t-advance-top-loading_middle.png
640
1536
APP Expert
https://www.appliancepartspros.com/b/wp-content/uploads/2020/11/app-logo-std.png
APP Expert2021-08-30 12:42:522026-01-20 13:27:20Washing Machine Timer Won’t Advance: Top-Loading and Side-Loading Washers (With Video!)
https://www.appliancepartspros.com/b/wp-content/uploads/2021/08/49_washing-machine-timer-won-t-advance-top-loading_middle.png
640
1536
APP Expert
https://www.appliancepartspros.com/b/wp-content/uploads/2020/11/app-logo-std.png
APP Expert2021-08-30 12:42:522026-01-20 13:27:20Washing Machine Timer Won’t Advance: Top-Loading and Side-Loading Washers (With Video!) https://www.appliancepartspros.com/b/wp-content/uploads/2021/08/48_washing-machine-won-t-agitate-top-8-problems-and_middle.png
640
1536
Samantha Bullington
https://www.appliancepartspros.com/b/wp-content/uploads/2020/11/app-logo-std.png
Samantha Bullington2021-08-26 14:35:082026-01-20 13:13:50Washing Machine Won’t Agitate: Top 8 Problems and Fixes for Top-Loading and Side-Loading Washers (With Video!)
https://www.appliancepartspros.com/b/wp-content/uploads/2021/08/48_washing-machine-won-t-agitate-top-8-problems-and_middle.png
640
1536
Samantha Bullington
https://www.appliancepartspros.com/b/wp-content/uploads/2020/11/app-logo-std.png
Samantha Bullington2021-08-26 14:35:082026-01-20 13:13:50Washing Machine Won’t Agitate: Top 8 Problems and Fixes for Top-Loading and Side-Loading Washers (With Video!)With nearly a decade of experience in providing top-notch customer service regarding appliance parts and repair, Steven enjoys sharing practical advice, troubleshooting tips, and interesting information to help readers stay informed.