Dishwasher Measuring Tips for a Perfect Fit
Steven E / Tuesday April 15, 2025
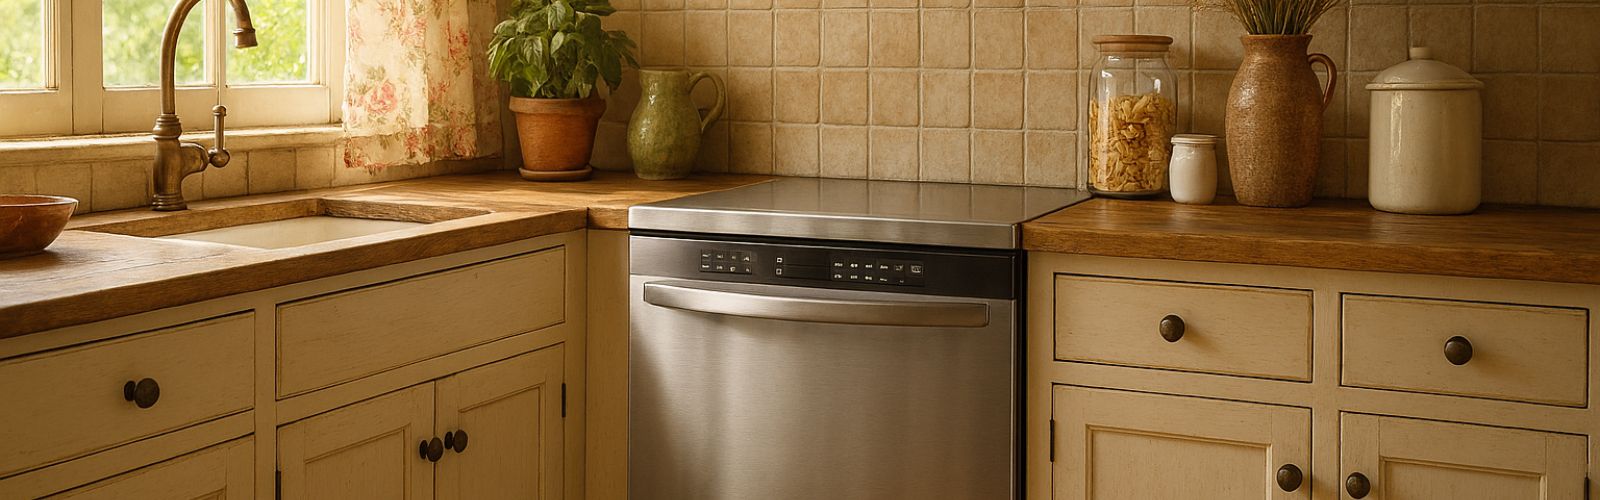
If you’re planning to install or replace your dishwasher, accurate measurements are vital to ensure a stress-free installation. In this guide, we share DIY tips and step-by-step instructions that empower you to confidently measure your space, so your new dishwasher fits perfectly and works smoothly.
Why Measuring Matters
Getting precise measurements can make all the difference. Not only do you need to confirm that your dishwasher slides in comfortably, but proper dimensions ensure it functions, aligns aesthetically with your cabinetry, and has adequate space behind for its connections. Accurate measurement guarantees:
- Fit: The dishwasher fits snugly without being too tight or too loose.
- Function: The door opens and closes freely without interference.
- Installation: There’s enough room for water lines, a drain hose, and electrical wiring.
- Aesthetics: It aligns with adjacent cabinets and countertops for a polished look.
With these factors in mind, you can avoid the common pitfalls of mis-measuring and reduce the risk of installation challenges.
Preparation Before Measuring
Gather Your Tools
Before starting, you want to ensure you have everything in place:

- Tape Measure: A sturdy metal tape measure is ideal for accurate results.
- Pen and Paper or Digital Device: Record your measurements as you go.
- Level: This optional tool helps you check for an even floor inside the opening.
- Flashlight: Useful for illuminating hard-to-see areas at the back of your space.
Clear and Prepare the Space
Whether you’re installing a new dishwasher or replacing an old one, preparation is key:
- If you plan to replace an old unit, disconnect it by shutting off the water supply and electrical circuit.
- Once it’s powered down, remove the dishwasher carefully.
- For a first-time installation, make sure the cabinet area is completely empty and free of obstructions.
- Clean the opening thoroughly to remove any debris that might affect your measurements.
Measuring the Dishwasher Opening
The focus here is on the “rough opening” or “cutout.” Always measure the opening itself rather than the old dishwasher. You need three key dimensions: height, width, and depth.
Step 1: Measure the Height
The height measurement should be taken from the finished floor (your tile, hardwood, or vinyl surface) up to the underside of the countertop.
- Place your tape measure on the finished floor at one end of the opening.
- Extend the tape upward to the lowest point on the underside of the countertop.
- Repeat this process three times – on the left side, in the center, and on the right side.
- Use the smallest measurement to account for any unevenness in the floor or a sagging countertop.
Most standard dishwashers work with an opening height of approximately 34 to 35 inches. However, if you are considering an ADA-compliant model, the opening height may be around 32.5 inches. Always confirm these numbers in your dishwasher’s manufacturer specifications.
Step 2: Measure the Width
The width is the distance between the two cabinets that frame your dishwasher opening.
- Use your tape measure to measure the distance at the top, middle, and bottom of the opening.
- Record each width measurement.
- Select the smallest measurement because cabinets are often not perfectly square.
Standard dishwashers typically require a 24-inch wide opening. If you have a compact model in mind, the opening might be around 18 inches. Ensure your measurement fits the type of dishwasher you plan to purchase.
Step 3: Measure the Depth
Depth measurement ensures that your unit will have adequate space for connections behind it and that it integrates well with your cabinetry.
- Measure from the back wall of the opening to the front edge of the adjacent cabinets (avoid measuring the countertop overhang).
- Take measurements at three different points – left, center, and right.
- Again, use the smallest measurement for accuracy.
Most dishwasher installations require a minimum depth of around 24 inches, but some models or unique setups might call for slightly deeper measurements (25 inches or more). Be sure to cross-reference the manufacturer’s cutout dimensions to confirm.
Check Clearances and Door Swing
Knowing that there is enough room for the door to open and for you to work comfortably is just as important as measuring the unit itself.
- Door Swing: Visualize the door opening. A typical dishwasher door requires about 25 to 27 inches of clearance when fully open. This ensures you have ample room to load and unload dishes easily.
- Adjacent Cabinets and Corners: If your dishwasher sits next to a corner cabinet, consider whether the door — when open — might block the adjacent cabinet or drawer. Adjust your layout accordingly.
Locating Utility Connections
Your dishwasher will need to connect to water, drainage, and electrical sources. Knowing their locations helps you verify that there’s sufficient room for all the necessary hookups.
- Water Supply: Check under the sink for the hot water supply line and the shut-off valve. Most dishwasher hoses are between 6 to 10 feet long – make sure your opening is comfortably within this range.
- Drain: Identify where the drain hose connects, typically near the garbage disposal or an air gap pipe. Ensure the connection is within reach and that there is enough space for a proper fit.
- Electrical: Locate the electrical source, often found in a nearby junction box or under the sink. Modern dishwashers usually require a 120V, 15- or 20-Amp circuit that’s grounded. Verify whether your unit is hardwired or uses a plug-in connection.
Using Your Measurements When Shopping
When browsing dishwashers, always check the manufacturer’s specifications – particularly the “cutout dimensions.” This term refers to the minimum required opening size for the dishwasher. Use your smallest height, width, and depth measurements to ensure that the unit you choose will fit comfortably.
- Compare to Specifications: Look for the required cutout dimensions in the product details. Even a slight discrepancy can be critical, so measure twice to be sure.
- Shimming Option: If your space is slightly larger than the dishwasher, shims may be used to properly align or level the unit. However, if your space is too tight, the installation may not work.
Consider Your Dishwasher Type:
- Standard (24″): The most common size for built-in dishwashers.
- Compact (18″): Designed for smaller kitchen spaces.
- Drawer Dishwashers: These models have specific height and depth requirements.
- Portable Dishwashers: They do not require built-in measurements, yet still need nearby water access and storage space.
- Panel-Ready Dishwashers: They require more precise depth measurements so that the custom panel sits flush with surrounding cabinetry.
Special Considerations
Every kitchen is unique, and certain conditions might require extra attention:
- Uneven Floors: Use a level in your opening to determine if the floor is even. While modern dishwashers have adjustable feet for leveling, a significantly sloped floor might call for extra shimming to secure a proper fit.
- Countertop Edge Profile: Some countertops feature thick or decorative edges that could interfere with the top of the dishwasher door or its control panel. Always measure below any such lip to avoid surprises.
- New Flooring Considerations: If you plan to install new, thicker flooring after placing your dishwasher, measure accordingly. Changing the floor height after measurement can reduce the effective height of your opening, so it’s best to account for adjustments early on.
Where To Find Us
If you need any replacement parts for your appliances, you can enter your model number at AppliancePartsPros.com to locate and order them quickly. Most orders arrive in just two business days! We also have everything you need in our repair help section and YouTube videos to help you troubleshoot.
Stay connected with the latest DIY tips, tutorial videos, and repair guides by following us on Facebook, Instagram, and Twitter. We love hearing about your repair stories and successes. If you need more help or want personalized guidance, feel free to reach out. We’re ready to help you take on your next project with confidence!
The information in this article may not apply to your specific appliance model. We recommend consulting your manufacturer’s documentation or contact us with any questions.
 https://www.appliancepartspros.com/b/wp-content/uploads/2025/06/20250618_1135_Open-Dishwasher-Interior_simple_compose_01jy1tspt8frxbw1s0kphty34n.png
1024
1536
Steven E
https://www.appliancepartspros.com/b/wp-content/uploads/2020/11/app-logo-std.png
Steven E2025-06-19 06:08:512025-08-20 10:25:45Whirlpool Dishwasher Lower Spray Arm W10803178 Install Guide
https://www.appliancepartspros.com/b/wp-content/uploads/2025/06/20250618_1135_Open-Dishwasher-Interior_simple_compose_01jy1tspt8frxbw1s0kphty34n.png
1024
1536
Steven E
https://www.appliancepartspros.com/b/wp-content/uploads/2020/11/app-logo-std.png
Steven E2025-06-19 06:08:512025-08-20 10:25:45Whirlpool Dishwasher Lower Spray Arm W10803178 Install Guide https://www.appliancepartspros.com/b/wp-content/uploads/2025/06/20250618_1039_Open-Dishwasher-Latch_simple_compose_01jy1qj818fwfaqxpm29d92q0h.png
1024
1536
Steven E
https://www.appliancepartspros.com/b/wp-content/uploads/2020/11/app-logo-std.png
Steven E2025-06-19 05:37:352025-08-20 09:45:30How to Replace Door Latch 8193830 on a Whirlpool Dishwasher
https://www.appliancepartspros.com/b/wp-content/uploads/2025/06/20250618_1039_Open-Dishwasher-Latch_simple_compose_01jy1qj818fwfaqxpm29d92q0h.png
1024
1536
Steven E
https://www.appliancepartspros.com/b/wp-content/uploads/2020/11/app-logo-std.png
Steven E2025-06-19 05:37:352025-08-20 09:45:30How to Replace Door Latch 8193830 on a Whirlpool Dishwasher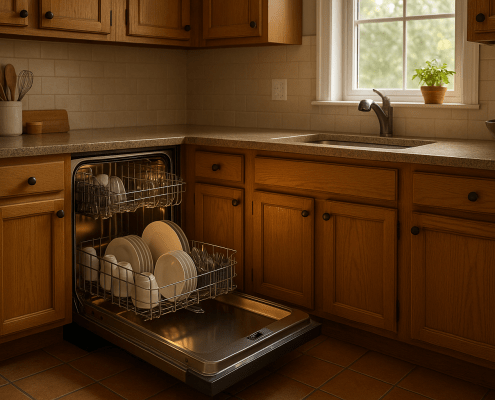 https://www.appliancepartspros.com/b/wp-content/uploads/2025/06/20250522_0842_Dishwasher-in-Sunlit-Kitchen_simple_compose_01jvw04ekdeqjtrnj7897hae8j.png
1024
1536
Steven E
https://www.appliancepartspros.com/b/wp-content/uploads/2020/11/app-logo-std.png
Steven E2025-06-19 05:22:312025-08-20 08:45:33DIY Install Door Spring WP8270182 on a Whirlpool Dishwasher
https://www.appliancepartspros.com/b/wp-content/uploads/2025/06/20250522_0842_Dishwasher-in-Sunlit-Kitchen_simple_compose_01jvw04ekdeqjtrnj7897hae8j.png
1024
1536
Steven E
https://www.appliancepartspros.com/b/wp-content/uploads/2020/11/app-logo-std.png
Steven E2025-06-19 05:22:312025-08-20 08:45:33DIY Install Door Spring WP8270182 on a Whirlpool DishwasherWith nearly a decade of experience in providing top-notch customer service regarding appliance parts and repair, Steven enjoys sharing practical advice, troubleshooting tips, and interesting information to help readers stay informed.