GE gas range burner base WB16T10046 replacement guide
Steven E / Monday May 19, 2025
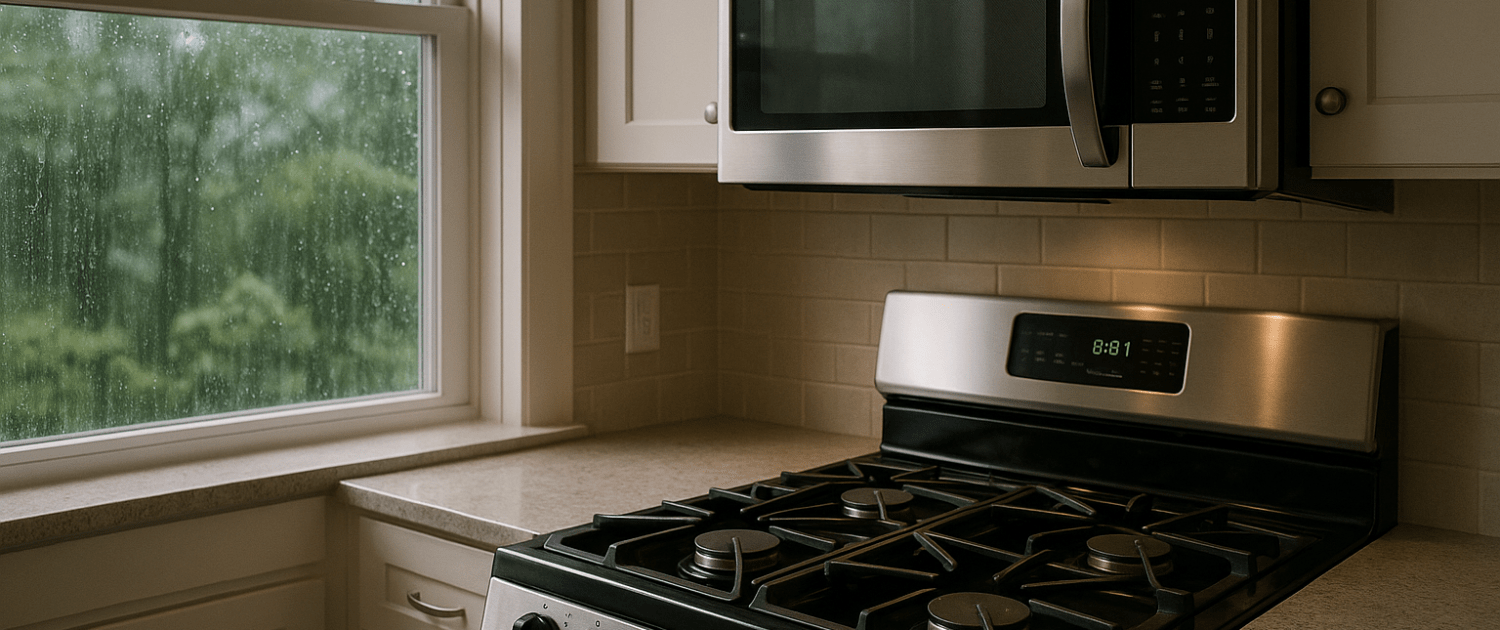
Has your trusty GE gas range lost its spark due to a faulty burner base? Don’t let a worn-out part keep you from creating culinary masterpieces! In this quick and easy guide, we’ll show you how to replace a damaged burner base on your GE range and reignite your cooking adventures—complete with a step-by-step video tutorial just below.
Looking for the right part? Enter your appliance model number below to find the exact match and get your appliance running like new again!
Replacing a faulty or damaged gas range burner base is a straightforward fix that can breathe new life into an aging GE gas range. With a few tools and a little mechanical know-how, you can swap out the burner base in no time.

We will walk you through the entire process, from prepping your workspace to installing the new burner base. Equipped with the right parts and safety precautions, you can tackle this beginner-friendly repair job and get your GE range cooking like new again.
Watch: How to replace the burner base
The information in this article may not apply to your specific appliance model. We recommend consulting your manufacturer’s documentation or contact us with any questions.
How it works
The burner base is the component that mounts directly on top of the gas supply tube emerging from the cooktop. It’s made from durable porcelain-coated steel and designed to support the burner caps.
When secured properly, the burner base and caps work together to shape the flame that cooks your food. The burner base contains a cutout section that allows the igniter to poke through and spark the gas burner to life.
Over time, the burner base can become cracked, warped, or damaged due to everyday wear and tear. Cracks or holes can cause dangerous gas leaks that must be addressed immediately. A missing or improperly seated burner base will also prevent the burners from lighting.
Gather Materials and Tools
Before starting any appliance repair job, it’s essential to have all the right replacement parts and tools on hand. Here’s everything you’ll need to replace the burner base on a GE gas range:
- New burner base – Use your model number to locate the correct part
- Screwdriver – A Phillips or flathead screwdriver
- Needle nose pliers
- Gloves
- Torx screwdriver (optional)
- Gas leak detector spray
- Baking soda and water paste (optional)
- Steel wool (optional)
With all your materials gathered, you’re ready to get started with the repair.
Shut Off Gas and Power to the Range
Before any work on a gas-powered appliance, you must turn off the gas supply and power source. This eliminates the risk of igniting gas, shocks, or burns during the repair.
- Locate the gas shut-off valve for the range and turn it clockwise to shut off the gas. The valve is typically found behind the range or on the gas supply line.
- Next, unplug the range from the electrical outlet or locate the circuit breaker and switch it to the OFF position. Make sure the range is completely deactivated.
With gas and electricity cut off, you can now safely access the burner bases.
Remove Grates, Burner Caps, and Burner Bases
The burner caps and heavy iron grates will need to be removed before you can access the burner bases underneath.
- Carefully lift off the grates and set them aside on a protected surface. Don’t let them bang around, as they can chip and crack the cooktop.
- Next, remove the burner caps by gently twisting them counterclockwise and lifting them up. Set them aside in order on a soft surface.
- With the caps off, you’ll see the burner bases centered over each gas supply tube.
- To remove the old burner base, simply lift it directly up and off the supply tube.
- Inspect the underside of the old burner base. Cracks or missing chunks indicate it’s time for a replacement.
- Make sure to scrape or clean any debris off the supply tubes using steel wool or a paste of baking soda and water.
Install New Burner Base
- Your new GE burner base will have a cutout on one side that allows the igniter to fit through. Orient the base so this cutout lines up with the igniter.
- Gently lower the new burner base over the supply tube. You may need to wiggle or rotate it slightly to get it seated properly.
- Press down firmly until the base clicks or snaps into place over the supply tube. Check that it sits flat and covers the tube opening completely.
- Repeat this process to install any other new burner bases as needed. Make sure they are fully secured before moving to the next steps.
Replace Burner Caps and Grates
With your new burner bases installed, it’s time to reassemble everything.
- Place the burner caps back over the bases, twisting gently clockwise to secure them. Double-check that all caps are lined up with the burners properly.
- Finally, set the heavy iron grates back in place over the burners. Make sure they sit flat without any wobbling or rocking.
- Turn the gas shut-off valve counterclockwise to open the gas line back up. Listen and smell for any potential gas leaks around the new burner bases.
- Use a gas leak detector spray to check the connections. Bubbles will appear if any leaks exist. Tighten connections or reseat bases to stop leaks.
- Next, plug the electrical cord back into the outlet or flip the circuit breaker back on. The range is now ready for testing.
- Turn on one burner at a time and cycle through the low, medium, and high settings. Make sure the flame ignites properly and remains steady on each setting.
- If any burner fails to light or has flames lifting off, recheck that the cap is centered on the base and seated tightly.
Once all burners are confirmed to be working properly, the repair is complete! You can now safely use your GE gas range with fresh and functional burner bases.
Where To Find Us
If you need any replacement parts for your appliances, you can enter your model number at AppliancePartsPros.com to locate and order them quickly. Most orders arrive in just two business days, and we have tons of great information in our repair help section and YouTube videos to help you troubleshoot.
Stay connected with the latest DIY tips, tutorial videos, and repair guides by following us on Facebook, Instagram, and Twitter. We love hearing about your repair stories and successes. If you need more help or want personalized guidance, feel free to reach out. We’re ready to help you take on your next project with confidence!
 https://www.appliancepartspros.com/b/wp-content/uploads/2023/02/220_removing-scratches-from-stainless-steel-appliances_bottom.png
640
1536
APP Expert
https://www.appliancepartspros.com/b/wp-content/uploads/2020/11/app-logo-std.png
APP Expert2023-02-26 03:00:002026-01-26 09:51:09Removing Scratches From Stainless Steel Appliances
https://www.appliancepartspros.com/b/wp-content/uploads/2023/02/220_removing-scratches-from-stainless-steel-appliances_bottom.png
640
1536
APP Expert
https://www.appliancepartspros.com/b/wp-content/uploads/2020/11/app-logo-std.png
APP Expert2023-02-26 03:00:002026-01-26 09:51:09Removing Scratches From Stainless Steel Appliances https://www.appliancepartspros.com/b/wp-content/uploads/2023/02/218_ceramic-cooktops-keeping-your-cooktop-clean-and_middle.png
640
1536
Steven E
https://www.appliancepartspros.com/b/wp-content/uploads/2020/11/app-logo-std.png
Steven E2023-02-21 08:30:002026-01-26 10:18:19Ceramic Cooktops: Keeping Your Cooktop Clean and Spotless
https://www.appliancepartspros.com/b/wp-content/uploads/2023/02/218_ceramic-cooktops-keeping-your-cooktop-clean-and_middle.png
640
1536
Steven E
https://www.appliancepartspros.com/b/wp-content/uploads/2020/11/app-logo-std.png
Steven E2023-02-21 08:30:002026-01-26 10:18:19Ceramic Cooktops: Keeping Your Cooktop Clean and Spotless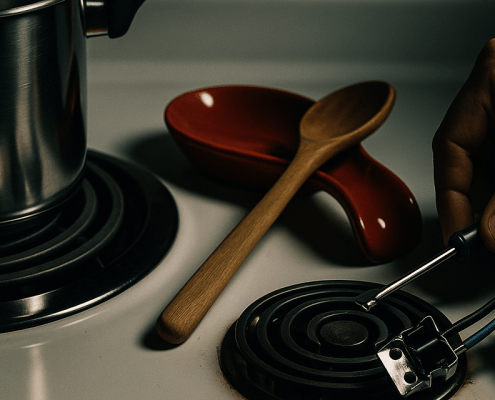 https://www.appliancepartspros.com/b/wp-content/uploads/2023/02/217_range-burner-receptacle-replacement-a-step-by_middle.png
640
1536
APP Expert
https://www.appliancepartspros.com/b/wp-content/uploads/2020/11/app-logo-std.png
APP Expert2023-02-20 13:07:142026-01-26 10:30:15Range Burner Receptacle Replacement: A Step-by-Step Guide
https://www.appliancepartspros.com/b/wp-content/uploads/2023/02/217_range-burner-receptacle-replacement-a-step-by_middle.png
640
1536
APP Expert
https://www.appliancepartspros.com/b/wp-content/uploads/2020/11/app-logo-std.png
APP Expert2023-02-20 13:07:142026-01-26 10:30:15Range Burner Receptacle Replacement: A Step-by-Step GuideWith nearly a decade of experience in providing top-notch customer service regarding appliance parts and repair, Steven enjoys sharing practical advice, troubleshooting tips, and interesting information to help readers stay informed.