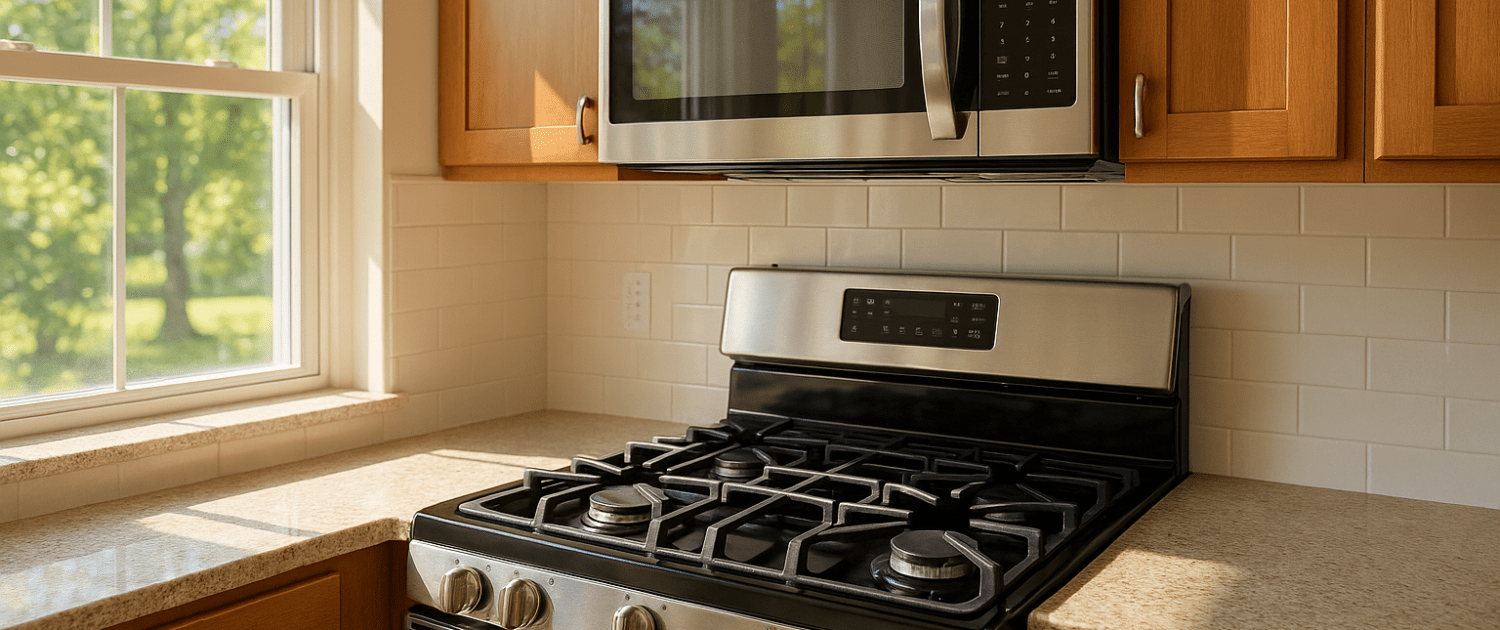
GE Gas Range Orifice Spud WB28K10023 Replacement
Steven E / Monday May 19, 2025
Tired of your GE range burners acting up with low flames or stubborn ignitions? You’re in the right place! Discover how replacing a simple yet crucial component—the orifice spud—can restore your burners to peak performance with our easy DIY guide, complete with a how-to video just below.
Looking for the right part? Enter your appliance model number below to find the exact match and get your appliance running like new again!
Replacing the range orifice spud in your GE range is a straightforward do-it-yourself project that you can knock out in under an hour with just a few tools and a little know-how. This part regulates the gas flow to your range burners and over time it can get clogged or damaged, causing burner issues.
Watch: How to replace the orifice spud
The information in this article may not apply to your specific appliance model. We recommend consulting your manufacturer’s documentation or contact us with any questions.
What is an Orifice Spud?
The orifice spud is a small threaded nozzle that controls the amount of gas released into each burner of your range. It’s located at the end of the gas supply line underneath the burner caps. This key component is precisely calibrated to mix the air and gas for proper combustion.
Orifice spuds are made from brass or stainless steel and are generally universal, though you need to match the thread size and shape. They have small hole openings sized according to BTU output – a higher BTU burner like your oven broiler will need a larger orifice opening.
Over time, grease, food debris, and mineral deposits from the gas can build up inside the orifice opening. This restricts flow, causing ignition issues and improper flame size. Replacing a faulty spud is a quick and inexpensive fix to restore burner performance.
Why Replace an Orifice Spud?
There are a few common signs that your GE range’s orifice spud needs replacing:
- Burners igniting improperly or too slowly
- Low flame even on the highest setting
- Uneven flame height across burners
- Burners making popping or whistling noises
A clogged or damaged spud can cause these types of burner problems. Before replacing the orifice, always troubleshoot other potential causes like dirty burners, bad ignitors, or gas supply issues. If the spud is confirmed to be the culprit, replacing it with a new one will have your burners working like new again.
Supplies Needed
Replacing the orifice spud requires just a few simple tools and parts:
- Ratchet wrench with 9/32 inch socket and extension
- Teflon plumber’s tape
- Masking tape
- Replacement orifice spud for your model
You’ll also need some rags, a flashlight, and a plastic container to hold the small parts. Make sure you have everything on hand before disassembling the burners.
Safety Tips
Any appliance repair job presents some safety hazards. Take the following precautions when working on your GE range:
- Turn off the gas supply at the shut-off valve and unplug the range.
- Let the range cool completely before disassembly.
- Use extreme caution handling gas supply fittings.
- Have a fire extinguisher on hand.
- Work in a well-ventilated area.
- Don’t force threads – damaged gas lines can leak.
Proper preparation is key to safely replacing your range’s orifice spud.
Step-by-Step Orifice Spud Replacement
Follow these steps to remove and install a new orifice spud in your GE gas range:
Access the Burners
- Remove the grates, caps, and burner heads using a Phillips screwdriver if needed.
- Locate the gas supply tube with the orifice spud at the end.
Remove Old Orifice Spud
- Cover a 9/32″ socket with masking tape to protect the spud’s threads.
- Fit the socket over the spud and turn counterclockwise to unscrew.
- Examine the old spud to confirm it’s clogged or damaged.
Install New Orifice Spud
- Wrap the new spud’s threads with Teflon tape to prevent leaks.
- Insert into the supply tube, using the socket to tighten clockwise.
- Don’t overtighten – snug is enough to prevent leaks.
Reassemble Burners
- Replace the burner bases, caps, heads, and grates.
- Visually check alignment – nothing should be skewed.
Restore Gas and Power
- Reconnect the gas line, turn on the supply, and plug in the range.
- Leak test with a soapy solution before firing burners.
- Ignite each burner to test flame operation.
Be patient during the leak test and ignition process. It may take a few tries to purge air from the lines and regulate the new spud. If any burner fails to light or has abnormal flame height, double-check the connections.
Where To Find Us
If you need any replacement parts for your appliances, you can enter your model number at AppliancePartsPros.com to locate and order them quickly. Most orders arrive in just two business days, and we have tons of great information in our repair help section and YouTube videos to help you troubleshoot.
Stay connected with the latest DIY tips, tutorial videos, and repair guides by following us on Facebook, Instagram, and Twitter. We love hearing about your repair stories and successes. If you need more help or want personalized guidance, feel free to reach out. We’re ready to help you take on your next project with confidence!
With nearly a decade of experience in providing top-notch customer service regarding appliance parts and repair, Steven enjoys sharing practical advice, troubleshooting tips, and interesting information to help readers stay informed.


