How to Fix the Lower Convection Fan Motor on a Samsung Range
Steven E / Friday June 20, 2025
Noticing uneven baking or strange noises from your Samsung electric range? The lower convection fan motor could be failing. Here’s how to test and replace it to keep your oven running smoothly.
If you need any replacement parts for your Samsung range, you can enter your model number at AppliancePartsPros.com to order them. Most orders arrive in just two business days, and we have thousands of free guides to show you how to install your new parts.
The information in this article may not apply to your specific appliance model. We recommend consulting your manufacturer’s documentation or contact us with any questions.
What you need
- Multimeter
- 9 mm or 3/8 socket and ratchet
- Phillips head screwdriver
- Flat head screwdriver
Safety precautions
When working on any appliance, always keep safety first to avoid personal injury or damage to the appliance or its parts. Here are some tips to keep in mind:
- Always power off and unplug your appliance or switch off the circuit breaker before you attempt any maintenance or replacement work. This keeps you safe by eliminating any risk of electric shock.
- If the appliance has recently been used, give it plenty of time to cool down before working on it.
- Take your time while working to prevent accidents and personal injuries. Rushing is the enemy of precision.
- Work in a well-lit area so you can see and access appliance parts.
- Keep your workspace free of clutter and other obstacles. Keep children and pets away from the work area.
- Never work on internal parts with wet hands. Make sure the work area is completely dry.
- Check the user manual to see if there are specific installation or safety instructions related to your appliance or replacement part.
- Be gentle when handling or removing parts. Excessive force might damage the appliance or cause personal injury.
- Wear insulated work gloves to protect your hands from sharp metal parts and debris.
- When working with wires, avoid touching any exposed wires or terminals. If you need to touch a wire, use a non-conductive tool or wear insulating gloves to prevent electrical shock.
- Always take photos or make a note of wiring terminals or other connections before disconnecting them to make reassembly easier.
- Consider wearing safety glasses and/or a dust mask when working with chemicals, dust or a large amount of debris to prevent irritation or injury.
How to test and replace the Samsung range’s lower convection fan motor
Follow these steps to diagnose, remove, and replace the lower convection fan motor in your Samsung range.
Step 1. Test the lower convection fan motor
LIVE VOLTAGE WARNING: For this test, the washer needs to be plugged in and powered on. Please be very careful to protect yourself from electric shock, which has the potential to cause serious injuries. Don’t ever test live voltage if you’re uncomfortable using a multimeter.
- Unplug the range or turn off the circuit breaker.
- Pull the range away from the wall.
- Remove the Phillips head screws from the back panel.
- Locate the lower convection fan motor.
- Plug the range back in or turn the breaker back on.
- Set the multimeter to Volts AC mode.
- Set the oven to convection bake and close the oven door.
- Place one multimeter lead on one terminal of the motor and the other lead on the second terminal.
- Wait up to a minute for the control board to cycle the fan on.
- Check for a reading of 120 VAC.
- If the motor receives 120 VAC but does not run, it needs to be replaced.
- If there is no voltage, check the wiring.
- If the wiring is intact and the motor is not receiving power, the control board may need replacement.
Step 2. Test the lower convection fan motor
- Unplug the range or turn off the circuit breaker.
- Remove the wire connector from the motor.
- Set the multimeter to resistance (ohms) mode.
- Place one lead on each terminal of the motor.
- Check for a reading of 20-30 ohms.
- If the reading is outside this range, replace the motor.
Step 3. Remove the lower convection fan motor
- Unplug the range or turn off the circuit breaker.
- Open the oven door fully.
- Push the door catches down.
- Lift up on the oven door and remove it.
- Remove the oven racks.
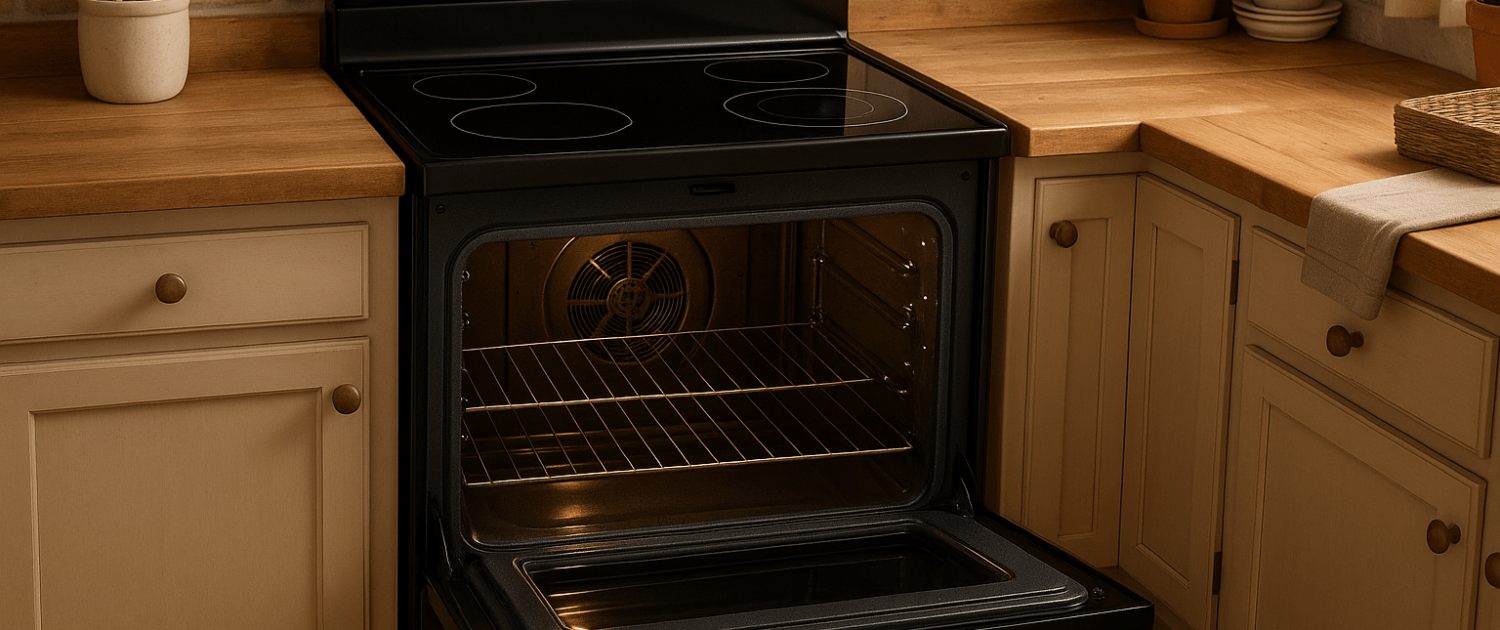
- Locate the fan cover inside the oven.
- Remove the two screws holding the fan cover.
- Hold the fan blade to keep it from turning.
- Use a 9 mm socket and ratchet to turn the nut to the right and remove the fan blade.
- Move to the back of the range.
- Remove the rear panel with a Phillips head screwdriver.
- Locate the lower convection fan motor.
- Disconnect the wire connector.
- Remove the three screws securing the motor.
- Pull the motor out.
Step 4. Install the new lower convection fan motor
- Position the new motor in place.
- Secure the motor with the three screws.
- Reconnect the wire connector.
- Reinstall the rear panel and secure it with the screws.
- Attach the fan blade to the motor shaft.
- Tighten the nut by turning it to the left.
- Manually spin the fan blade to check for proper movement.
- Reinstall the fan cover and secure it with the screws.
- Place the oven racks back inside.
- Align the oven door with the hinges and reinstall it.
- Push the hinge clips back up into the cabinet.
- Open and close the door to check for smooth operation.
- Plug the range back in or turn the circuit breaker back on.
- Set the oven to convection bake to check if the fan runs correctly.
Looking for more?
Thanks for reading! We hope this guide helped you replace the lower convection fan motor in your Samsung range. For any other parts you may need, just go to AppliancePartsPros.com with your model number and we’ll help you take care of the rest! We’ve got over two million parts in stock, and most orders arrive in just two business days.
Need some extra help? Give us a shout at 1 (877) 477-7278 or start a chat with us at your convenience. While you’re waiting on your new parts, check out our DIY blog and watch our video tutorials on YouTube. Follow us on Facebook, X and Instagram to stay connected and explore the latest repair guides!
With nearly a decade of experience in providing top-notch customer service regarding appliance parts and repair, Steven enjoys sharing practical advice, troubleshooting tips, and interesting information to help readers stay informed.


