How to replace sump filter W11205078 on a Whirlpool dishwasher
Steven E / Friday May 30, 2025
Is your Whirlpool dishwasher leaving your dishes less than sparkling? A clogged sump filter might be to blame, but don’t worry—this simple solution can restore your appliance’s performance in no time. Follow along with our easy-to-understand tutorial and watch the accompanying video just below to learn how to replace the filter like a pro!
Looking for the right part? Enter your appliance model number below to find the exact match and get your appliance running like new again!
If your Whirlpool dishwasher isn’t draining well or your dishes come out gritty, your sump filter might be clogged—and the fix is easier than you think. Part W11205078 is the filter that catches food debris before it clogs up the works, and replacing it takes just a few minutes. Let’s walk through how to pull the old one and pop in the new so your dishwasher runs like new again.
Watch Here: How to install sump filter
The information in this article may not apply to your specific appliance model. We recommend consulting your manufacturer’s documentation or contact us with any questions.
What you’ll need
Before disassembling your dishwasher, gather the necessary tools and replacement part:
- Flat blade screwdriver
- New Whirlpool/KitchenAid/Maytag sump filter (part # W11205078) Take your model number to AppliancePartsPros.com to locate the correct part for your unit.
- Towels or containers for draining water
Safety precautions
Safety should always be a priority when working on any appliance. Here are a few practical tips to help you stay safe:
- Turn off the power to the appliance by unplugging it or switching off the circuit breaker before starting any maintenance or repairs. This protects you from the risk of electric shock.
- Wear insulated gloves to shield your hands from sharp edges, pinching hazards, or debris.
- Work at a steady pace and take your time to avoid accidents or injuries.
- Make sure your workspace is well-lit so you can clearly see and access the parts you’re working on.
- Keep the area clear of clutter, and ensure children and pets stay out of the workspace.
- Never handle internal parts with wet hands. Check that both your hands and the work area are completely dry.
- Refer to your appliance’s user manual for any specific instructions or safety guidelines related to the part or repair.
- Handle parts gently to avoid damage to the appliance or potential injuries from applying too much force.
- Use safety glasses when dealing with chemicals, dust, or large debris to protect your eyes from harm.
- If the appliance was recently used, give it enough time to cool down before working on any heated components.
- Take photos or notes of wiring connections and terminals before disconnecting anything to make reassembly easier.
- Avoid touching exposed wires or terminals. If you must handle wires, use non-conductive tools or wear insulated gloves to minimize the risk of electrical shock.
Removal steps
Make sure both power and water are off before beginning any repairs.
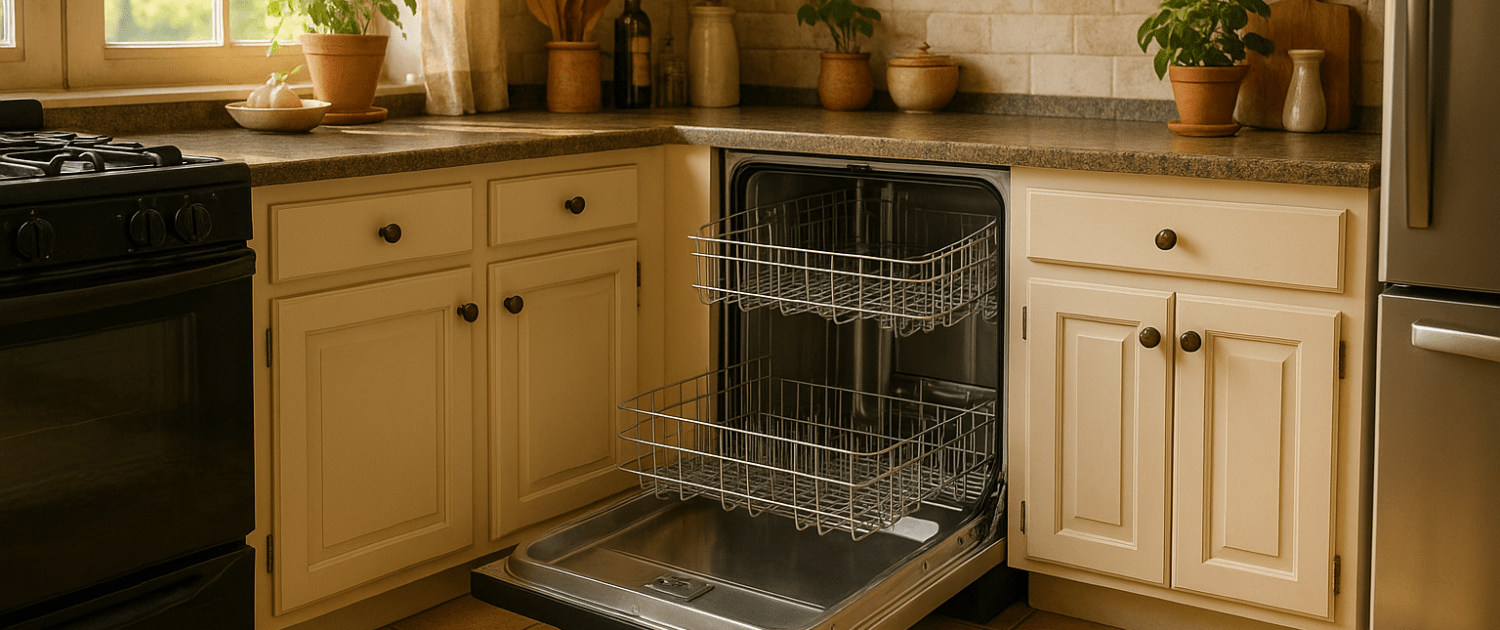
- Pull out the upper dish rack, being careful not to bend the rack hinges.
- Lift off the two rack stoppers on either side by pressing in the tabs with a flat screwdriver.
- Pull out the lower rack as well and set all dish racks aside.
- Grab and rotate the lock nut on the lower spray arm counterclockwise. The arm can then lift off easily.
- Use a flat-blade screwdriver to pop up the clips securing the filter housing cover. Lift off the cover.
- Press in the release clips on the upper and middle tube segments while pulling those portions outward.
- Unclip the lower portion’s tabs securing it to the sump housing.
- Draw out the entire supply tube carefully without breaking the plastic clips.
- Clasp the circular filter firmly and draw it straight upward to remove it from the filter chamber. The old unit simply pulls off the mounting clips.
Installation and reassembly
- Align the new part’s perimeter clips with the fitted gaps in the sump housing’s mouth.
- Push straight down to lock the filter into place securely. All tabs should click audibly into position.
- Make sure you have a snug, leak-proof fit. Double-check filter alignment if uncertain.
- Replace supply tube segments by lowering each section into fittings in order from top to bottom. Make sure the clips and tabs are firmly locked in place.
- Reseat the filter housing lid and press the perimeter lip until all 4 clips click into locks.
- Lower the spray arm into place, rotating the lock nut clockwise to secure the arm.
- Slide in dish racks and confirm unobstructed motion and alignment on tracks.
The dishwasher repair is now complete! You saved significant costs by replacing the sump filter yourself. Going forward, periodically check and clean out this filter to maximize washing ability.
More information
Thanks for reading! We hope this article helped you replace the sump filter in your Whirlpool/KitchenAid/Maytag dishwasher.
If you still need some replacement parts, grab your model number and head over to AppliancePartsPros.com. We offer over two million parts and most orders arrive in two business days. If you need some help with finding the right part or placing an order, you can contact our team at 1 (877) 477-7278.
While you’re waiting for your new part to arrive, you can explore our DIY blog and watch thousands of video tutorials on our YouTube channel.
Be sure to follow us on Facebook, Twitter and Instagram to see our latest repair guides!
With nearly a decade of experience in providing top-notch customer service regarding appliance parts and repair, Steven enjoys sharing practical advice, troubleshooting tips, and interesting information to help readers stay informed.


