How to replace the defrost timer WR9X565 on a GE refrigerator
Steven E / Friday May 16, 2025
Is your GE refrigerator failing to keep things cool? The culprit could be a faulty defrost timer, causing your fridge to misbehave and disrupt your kitchen routine. Don’t worry—we’ve got you covered with an easy step-by-step guide and a helpful how-to video below, making it a breeze to replace that malfunctioning part and restore your refrigerator’s chill in no time.
Looking for the right part? Enter your appliance model number below to find the exact match and get your appliance running like new again!
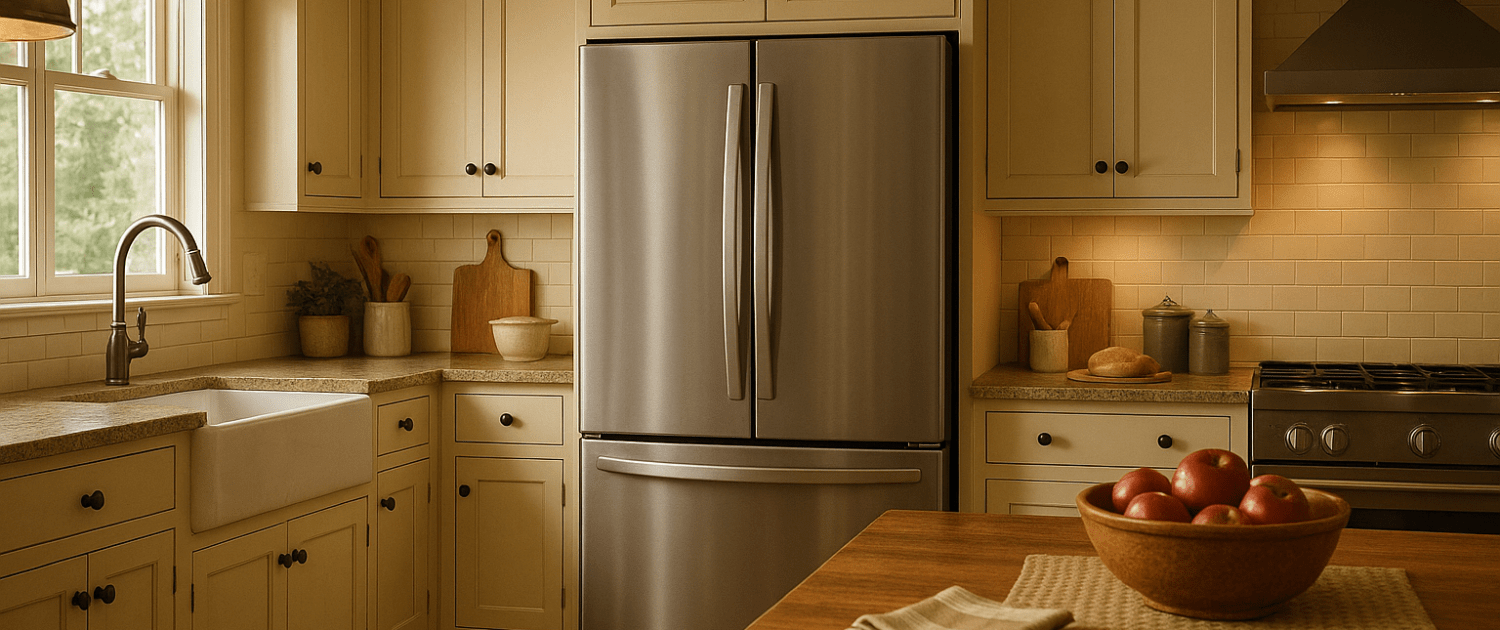
If you have a GE refrigerator that is no longer cooling properly, the issue may be a faulty defrost timer (part #WR9X565). The defrost timer is an important component in refrigerators that regulates the defrost cycle. Over time, defrost timers can malfunction, getting stuck either in defrost mode or continuously running the compressor. This will lead to issues like the refrigerator section not cooling, the freezer section getting too cold, or excessive frost buildup. Replacing the defrost timer is often the solution.

This is a commonly replaced part that, with a few tools and some know-how, you can swap out yourself in just a few minutes.
You can find a replacement defrost timer WR9X565 here. If you need other replacement parts for your GE refrigerator, just enter your model number at AppliancePartsPros.com to find them. It’s that easy! Most orders arrive in just two business days, and we have thousands of guides to show you how to install your new parts.
The information in this article may not apply to your specific appliance model. We recommend consulting your manufacturer’s documentation or contact us with any questions.
Materials needed
For this repair project, you’ll need:
- Quarter-inch nut driver
- Flathead screwdriver
- Needle nose pliers
- Replacement defrost timer (part #WR9X565)
Safety precautions
Safety should always be a priority when working on any appliance. Here are a few practical tips to help you stay safe:
- Turn off the power to the appliance by unplugging it or switching off the circuit breaker before starting any maintenance or repairs. This protects you from the risk of electric shock.
- Wear insulated gloves to shield your hands from sharp edges, pinching hazards, or debris.
- Work at a steady pace and take your time to avoid accidents or injuries.
- Make sure your workspace is well-lit so you can clearly see and access the parts you’re working on.
- Keep the area clear of clutter, and ensure children and pets stay out of the workspace.
- Never handle internal parts with wet hands. Check that both your hands and the work area are completely dry.
- Refer to your appliance’s user manual for any specific instructions or safety guidelines related to the part or repair.
- Handle parts gently to avoid damage to the appliance or potential injuries from applying too much force.
- Use safety glasses when dealing with chemicals, dust, or large debris to protect your eyes from harm.
- If the appliance was recently used, give it enough time to cool down before working on any heated components.
- Take photos or notes of wiring connections and terminals before disconnecting anything to make reassembly easier.
- Avoid touching exposed wires or terminals. If you must handle wires, use non-conductive tools or wear insulated gloves to minimize the risk of electrical shock.
Locating the defrost timer
On GE refrigerators, the defrost timer is usually located inside the fresh food compartment’s control cover panel. To access it, you’ll need to first remove some components.
- Start by opening the fresh food compartment door.
- Remove the snack pan by pulling it out firmly. It may take some force to dislodge it.
- Next, remove the shelf just below the snack pan.
- Lift up the front of the shelf and detach the rear hooks to free it.
- Set the shelf and snack tray aside.
- The control cover panel is located at the very top of the fresh food compartment. It’s secured by three-quarter-inch screws – one visible in the center, and two at the back corners.
Removing the control panel
With the snack tray and shelf moved aside, you can now access and remove the control panel cover:
- Use a quarter-inch nut driver to remove the three screws securing the panel – one at the center opening and two at the back openings.
- Once all three screws are out, carefully lower the panel down.
- You’ll need to disconnect the wiring plug at the back. Press down on the plastic tab to release the plug, then pull it apart from the control board.
- Set the control panel assembly aside on a flat surface. Be careful not to kink or damage any of the wiring.
Replacing the defrost timer
With the control panel removed, you now have access to the defrost timer. It is located on the underside of the control panel assembly.
- Remove the metal cover panel that is protecting the defrost timer itself.
- Detach the ground wire and use a flathead screwdriver to pry out the locking pin.
- Once released, remove the metal cover panel.
- Locate the defrost timer mounted to the control board.
- Identify the two small plastic clips securing it in place.
- Use needle nose pliers to gently bend out the clips, taking care not to break them off.
- With the clips loosened, slide out the old defrost timer.
- Unplug the wire connector attaching the defrost timer to the board.
- Pull straight out on the plug without bending any pins.
- Take your new replacement defrost timer and plug it directly into the control board, matching the original orientation.
- Once connected, slide the new timer under the plastic locking clips.
- Use the pliers to gently bend the clips back down to secure the timer in place.
- With the new part installed, replace the metal cover panel.
- Reattach the ground wire and make sure the locking pin is fully seated.
Reinstalling the control panel
With the repair complete, you can now reinstall the control panel cover:
- First, reconnect the wiring plug to the back of the control board. Make sure it clicks securely in place.
- Lift the panel assembly and position it back into the cutout inside the refrigerator compartment. The styrofoam duct needs to align properly in its slot.
- Replace the three-quarter-inch screws to secure the panel again. Tighten down the center screw first, then install the two back screws.
- With the control panel locked in place, you can now replace the shelf.
- Hook the shelf clips into the slots at the back wall first, then lower the front into position.
- Finally, slide the snack pan back on its rails until it is fully seated.
Completing the repair
You’re almost ready to test out your handiwork.
- First, make sure all components are replaced and properly secured.
- Verify that no wires or hoses are pinched or interfering with any moving parts.
- Plug the refrigerator power cord back in and turn on the power.
- Let it run for a few minutes and confirm that the refrigerator starts cooling again.
- Check that both the fresh food and freezer sections are getting colder.
And that’s it – you’ve successfully located, removed, and replaced the defrost timer in your GE refrigerator!
More information
Thanks for reading! If you have any other appliance repair needs or projects, you can find more resources including our DIY blog at AppliancePartsPros.com. There, you can enter your model number to order the exact parts you need. Most orders arrive in two business days.
You can also reach our award-winning customer service team at 1-877-477-7278, chat with a pro on our website and watch thousands of free video tutorials on our YouTube channel.
 https://www.appliancepartspros.com/b/wp-content/uploads/2022/09/20250429_1607_Golden-Hour-Kitchen_simple_compose_01jt1jgyz8fkr8b4cv8p66fa4k.png
1024
1536
APP Expert
https://www.appliancepartspros.com/b/wp-content/uploads/2020/11/app-logo-std.png
APP Expert2022-09-20 10:00:002026-02-11 10:11:20Money Saver: Cleaning With These Brushes Lowered My Electric Bill
https://www.appliancepartspros.com/b/wp-content/uploads/2022/09/20250429_1607_Golden-Hour-Kitchen_simple_compose_01jt1jgyz8fkr8b4cv8p66fa4k.png
1024
1536
APP Expert
https://www.appliancepartspros.com/b/wp-content/uploads/2020/11/app-logo-std.png
APP Expert2022-09-20 10:00:002026-02-11 10:11:20Money Saver: Cleaning With These Brushes Lowered My Electric Bill https://www.appliancepartspros.com/b/wp-content/uploads/2022/09/175_how-to-keep-food-fresh-when-your-refrigerator_bottom.png
640
1536
APP Expert
https://www.appliancepartspros.com/b/wp-content/uploads/2020/11/app-logo-std.png
APP Expert2022-09-13 08:02:362026-02-11 09:31:04How To Keep Food Fresh When Your Refrigerator Fails
https://www.appliancepartspros.com/b/wp-content/uploads/2022/09/175_how-to-keep-food-fresh-when-your-refrigerator_bottom.png
640
1536
APP Expert
https://www.appliancepartspros.com/b/wp-content/uploads/2020/11/app-logo-std.png
APP Expert2022-09-13 08:02:362026-02-11 09:31:04How To Keep Food Fresh When Your Refrigerator Fails https://www.appliancepartspros.com/b/wp-content/uploads/2022/08/170_how-to-replace-a-ge-refrigerator-lower-drawer-gear_bottom.png
640
1536
APP Expert
https://www.appliancepartspros.com/b/wp-content/uploads/2020/11/app-logo-std.png
APP Expert2022-08-10 16:53:282026-02-10 11:15:05How To Replace A GE Refrigerator Lower Drawer Gear
https://www.appliancepartspros.com/b/wp-content/uploads/2022/08/170_how-to-replace-a-ge-refrigerator-lower-drawer-gear_bottom.png
640
1536
APP Expert
https://www.appliancepartspros.com/b/wp-content/uploads/2020/11/app-logo-std.png
APP Expert2022-08-10 16:53:282026-02-10 11:15:05How To Replace A GE Refrigerator Lower Drawer GearWith nearly a decade of experience in providing top-notch customer service regarding appliance parts and repair, Steven enjoys sharing practical advice, troubleshooting tips, and interesting information to help readers stay informed.