How to replace timer WP33001632 on a Whirlpool, Maytag or KitchenAid dryer
Samantha Bullington / Tuesday January 9, 2024
Are your clothes coming out just as damp as they went in? A faulty timer could be the culprit behind your dryer’s lackluster performance. Discover how you can tackle this common issue yourself with our step-by-step guide, complete with a helpful how-to video right below!
If you’re having trouble with your cycles in your Whirlpool, KitchenAid, or Maytag dryer, you could have a faulty timer. But don’t worry – replacing the dryer timer is a simple process that you can easily handle on your own. Plus, you’ll be able to save the cost of a service call!
If you need a replacement timer WP33001632, you can order it here. If you need another part for your dryer, you can enter your model number at AppliancePartsPros.com to find it.

WATCH: How to install a dryer timer
What is a dryer timer?
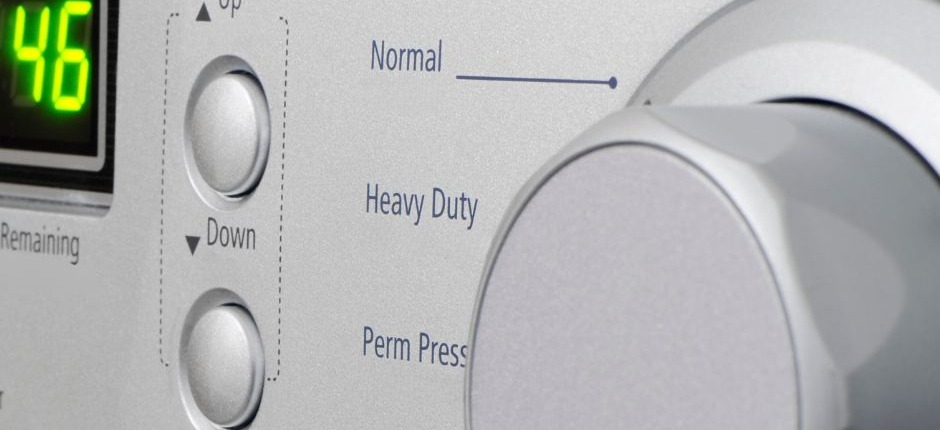
Your dryer’s timer is responsible for controlling different cycles and operations. It sets the duration for each cycle, including the drying time and cool-down period.
If the timer malfunctions, it can disrupt the entire drying process, which can result in poor dryer performance.
What you need
- 1/4-inch nut driver
- Phillips screwdriver
- Small flat-blade screwdriver
- Replacement timer WP33001632 (Take your model number to AppliancePartsPros.com to make sure the part is compatible with your machine)
Keep safety first
When working on any appliance, always keep safety first to avoid personal injury or damage to the appliance or parts. Here are some safety tips to keep in mind:
- Always power off and unplug your dryer or switch off the circuit breaker before attempting any maintenance or replacement work. This keeps you safe by preventing any risk of electric shock.
- If the dryer has recently been used, give it plenty of time to cool down before working on it.
- Take your time and don’t rush while working to prevent accidents and personal injuries.
- Work in a well-lit area so you can clearly see and access dryer parts.
- Keep your workspace free of clutter and other obstacles. Keep children and pets away from the work area.
- Never work on internal parts with wet hands. Make sure the work area is completely dry.
- Check the user manual to see if there are specific installation or safety instructions related to your dryer or replacement part.
- Be gentle when handling or removing parts. Excessive force might damage the dryer or cause personal injury.
- Wear insulated work gloves to protect your hands from sharp metal parts and debris.
- When working with wires, avoid touching any exposed wires or terminals. If you need to touch a wire, use a non-conductive tool or wear insulating gloves to prevent electrical shock.
- Consider wearing safety glasses and/or a dust mask when working with chemicals, dust or a large amount of debris to prevent irritation or injury.
READ MORE: How to Clean a Dryer Vent
Replacement steps
Step 1: Access the timer
To access the timer, we need to remove the back access panel of the dryer. This panel provides you with direct access to the inner workings of the machine and allows you to easily replace components.
- Using the 1/4-inch nut driver, remove the two lower screws that hold the back access panel.
- Use the Phillips screwdriver to remove the upper screws.
- Carefully set the panel aside for later reassembly.
Step 2: Remove the old timer
Now that we have the back access panel removed, we can take out the old timer.
- Gently pull off the timer knob, detaching it from the timer shaft. Set the knob aside.
- Use the 1/4-inch nut driver to remove the two screws that hold the timer to the console.
- Look over all the different wires that are connected to the old timer. Take note of where each wire goes or snap a picture for future reference.
- Use a small flat-blade screwdriver to carefully detach each wire from the old timer. Set the timer aside or dispose of it accordingly.
READ MORE: 9 Ways to Improve Your Dryer’s Performance
Step 3: Install the new timer
Now that we have successfully removed the old timer, it’s time to install the new one.
- Begin attaching the wires to the new timer, matching them one by one. Refer to your notes or photos you took earlier. You can start with the blue wire, followed by the pink, black, red, white, gray, yellow, orange, and finally the ground wire.
- Press down firmly on each wire to make sure they’re secure and correctly connected.
Step 4: Reassemble the dryer
With the new timer securely installed and all the wires properly connected, it’s time to reassemble your dryer.
- Carefully slide the new timer back into the control panel. As you do this, make sure it’s aligned correctly.
- Use the 1/4-inch nut driver to tighten the screws
- Grab the timer knob you set aside earlier. Notice the D shape on the knob shaft and the timer shaft, and make sure they match up. Carefully push the knob onto the shaft until it’s firmly in place.
READ MORE: Clothes Dryer Maintenance
Finishing touches
We’re almost there! Let’s put the finishing touches on this dryer repair.
- Place the back access panel back onto the dryer and make sure it’s aligned correctly.
- Use the Phillips screwdriver to insert and tighten the upper screws.
- Use the 1/4-inch nut driver to insert and tighten the lower screws.
- Double-check your work to make sure that all the screws are tightened properly.
- Plug in your dryer and run a test cycle to make sure the new timer is working.
READ MORE: Dryer Troubleshooting: What Is Causing Slow Drying Times?
More information
Thanks for reading! We hope this guide helped you replace the timer in your Whirlpool, Maytag or KitchenAid dryer.
If you still need some replacement parts, grab your model number and head over to AppliancePartsPros.com. We offer over two million parts and most orders arrive in two business days. If you need some help with finding the right part or placing an order, you can contact our team at 1 (877) 477-7278.
While you’re waiting for your new part to arrive, you can explore our DIY blog and watch thousands of video tutorials on our YouTube channel.
Be sure to follow us on Facebook, Twitter and Instagram to see our latest repair guides!
 https://www.appliancepartspros.com/b/wp-content/uploads/2021/12/78_how-to-replace-a-dryer-heating-element_bottom.png
640
1536
APP Expert
https://www.appliancepartspros.com/b/wp-content/uploads/2020/11/app-logo-std.png
APP Expert2021-12-17 11:36:252026-01-21 12:38:42How to Replace a Dryer Heating Element
https://www.appliancepartspros.com/b/wp-content/uploads/2021/12/78_how-to-replace-a-dryer-heating-element_bottom.png
640
1536
APP Expert
https://www.appliancepartspros.com/b/wp-content/uploads/2020/11/app-logo-std.png
APP Expert2021-12-17 11:36:252026-01-21 12:38:42How to Replace a Dryer Heating Element https://www.appliancepartspros.com/b/wp-content/uploads/2021/06/30_electric-dryer-leaving-black-marks-on-clothes-top_bottom.png
640
1536
Steven E
https://www.appliancepartspros.com/b/wp-content/uploads/2020/11/app-logo-std.png
Steven E2021-06-02 13:19:452026-01-16 11:10:25Electric Dryer Leaving Black Marks On Clothes: Top 5 Problems and Fixes (With Video!)
https://www.appliancepartspros.com/b/wp-content/uploads/2021/06/30_electric-dryer-leaving-black-marks-on-clothes-top_bottom.png
640
1536
Steven E
https://www.appliancepartspros.com/b/wp-content/uploads/2020/11/app-logo-std.png
Steven E2021-06-02 13:19:452026-01-16 11:10:25Electric Dryer Leaving Black Marks On Clothes: Top 5 Problems and Fixes (With Video!) https://www.appliancepartspros.com/b/wp-content/uploads/2021/05/27_how-to-replace-a-clothes-dryer-bearing-slide-with_middle.png
640
1536
APP Expert
https://www.appliancepartspros.com/b/wp-content/uploads/2020/11/app-logo-std.png
APP Expert2021-05-18 13:40:032026-01-16 10:36:16How to Replace a Clothes Dryer Bearing Slide (With Video!)
https://www.appliancepartspros.com/b/wp-content/uploads/2021/05/27_how-to-replace-a-clothes-dryer-bearing-slide-with_middle.png
640
1536
APP Expert
https://www.appliancepartspros.com/b/wp-content/uploads/2020/11/app-logo-std.png
APP Expert2021-05-18 13:40:032026-01-16 10:36:16How to Replace a Clothes Dryer Bearing Slide (With Video!)Hey there, I’m Samantha and I’m super excited to be a part of the Appliance Parts Pros team! With 9 years of experience, I’ve had the awesome opportunity to assist countless customers in troubleshooting their home appliances and finding DIY repair solutions.